
How We Built a Basement Bathroom from Scratch - In Less Than 2 Weeks
📘 Introduction
If you’ve ever thought about adding a bathroom to your basement, you’ve probably wondered:
Where do I even start?
That’s exactly the question we answered on a recent project in Vaughan, Ontario—where we turned an unfinished basement into a finished, fully functional bathroom in under two weeks.
This post breaks down what that process looked like—from planning to paint—with real challenges and workarounds along the way.
📐 Planning the Layout: It’s All About Smart Positioning
We wanted to maximize usable space in the rest of the basement, so we tucked the bathroom between two load-bearing walls, directly behind the staircase. That gave us a nice corner to work with without eating into the open living area.
It also had to go near the furnace room—but by code, you need at least 3 feet of clearance around the furnace. So the layout was kind of a puzzle. Once those pieces were in place, we locked in the bathroom’s footprint—around 80 square feet.
🔧 Opening Up the Ceiling: Making Room to Breathe
Since the basement was unfinished, the original water pipes and electrical wiring ran under the ceiling joists, which made the ceiling feel even lower. To fix that, we moved all plumbing and electrical inside the ceiling framing, giving us a cleaner look and more headroom in the finished space.
🛠️ Rough-ins, Framing & One Big Surprise
“We discovered a large corrugated pipe under the slab—right in the middle of the shower footprint…”
After framing the bathroom walls, we got to work on the plumbing and electrical rough-ins. That’s when we ran into our biggest challenge.
To install the shower drain, we had to cut into the concrete floor and tie into the toilet drain. Sounds simple—until we discovered a large corrugated pipe under the slab, right where we needed to run our new line. It was part of the home’s rainwater drainage system, and couldn’t be moved.
So we did what any smart renovator would do:
We worked over it, but that meant the new shower drain sat a bit higher than we planned.
Instead of building a taller curb (which would’ve made stepping into the shower less comfortable), we raised the floor inside the shower by pouring extra concrete. That kept the overall curb height low and accessible.
🚿 Waterproofing the Right Way
For the shower walls, we used green drywall (moisture-resistant sheetrock) and a PVC liner under the shower base tile for waterproofing. This combo is budget-friendly and effective for most residential builds.
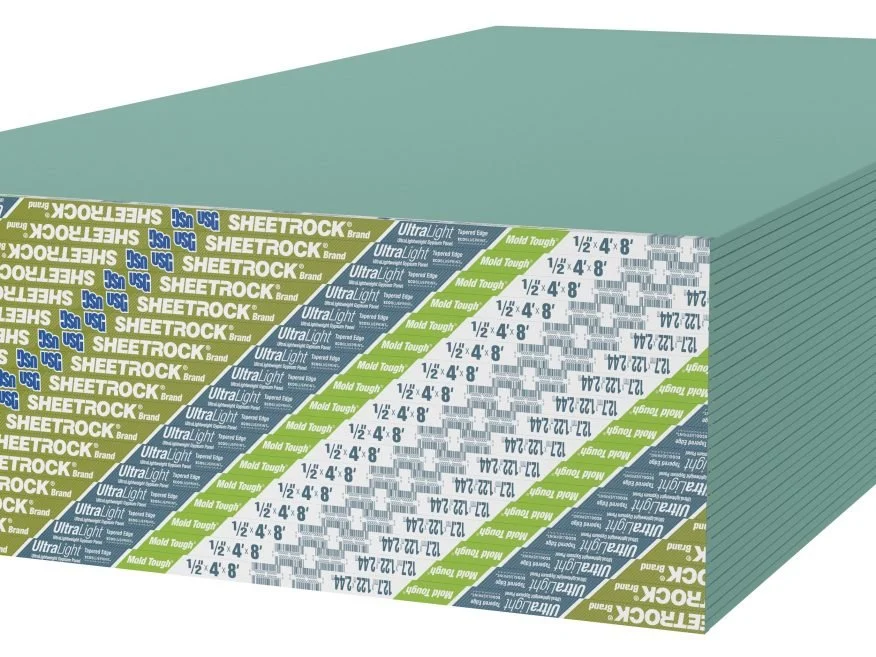
Green Sheetrock (Mold Tough Drywall) (Image courtesy of USG.com)
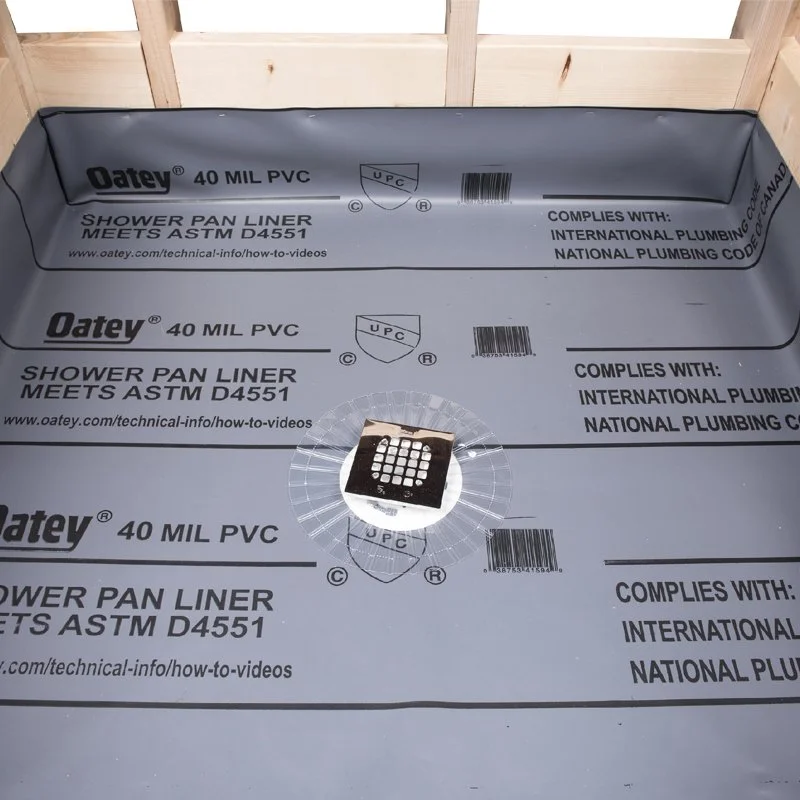
Oatey Shower Pan Liner (Image courtesy of Oatey.com)
(Product images shown (Oatey® shower pan liner and USG® Mold Tough drywall) are for reference only and are owned by their respective manufacturers. All trademarks and product names are the property of their respective owners.)
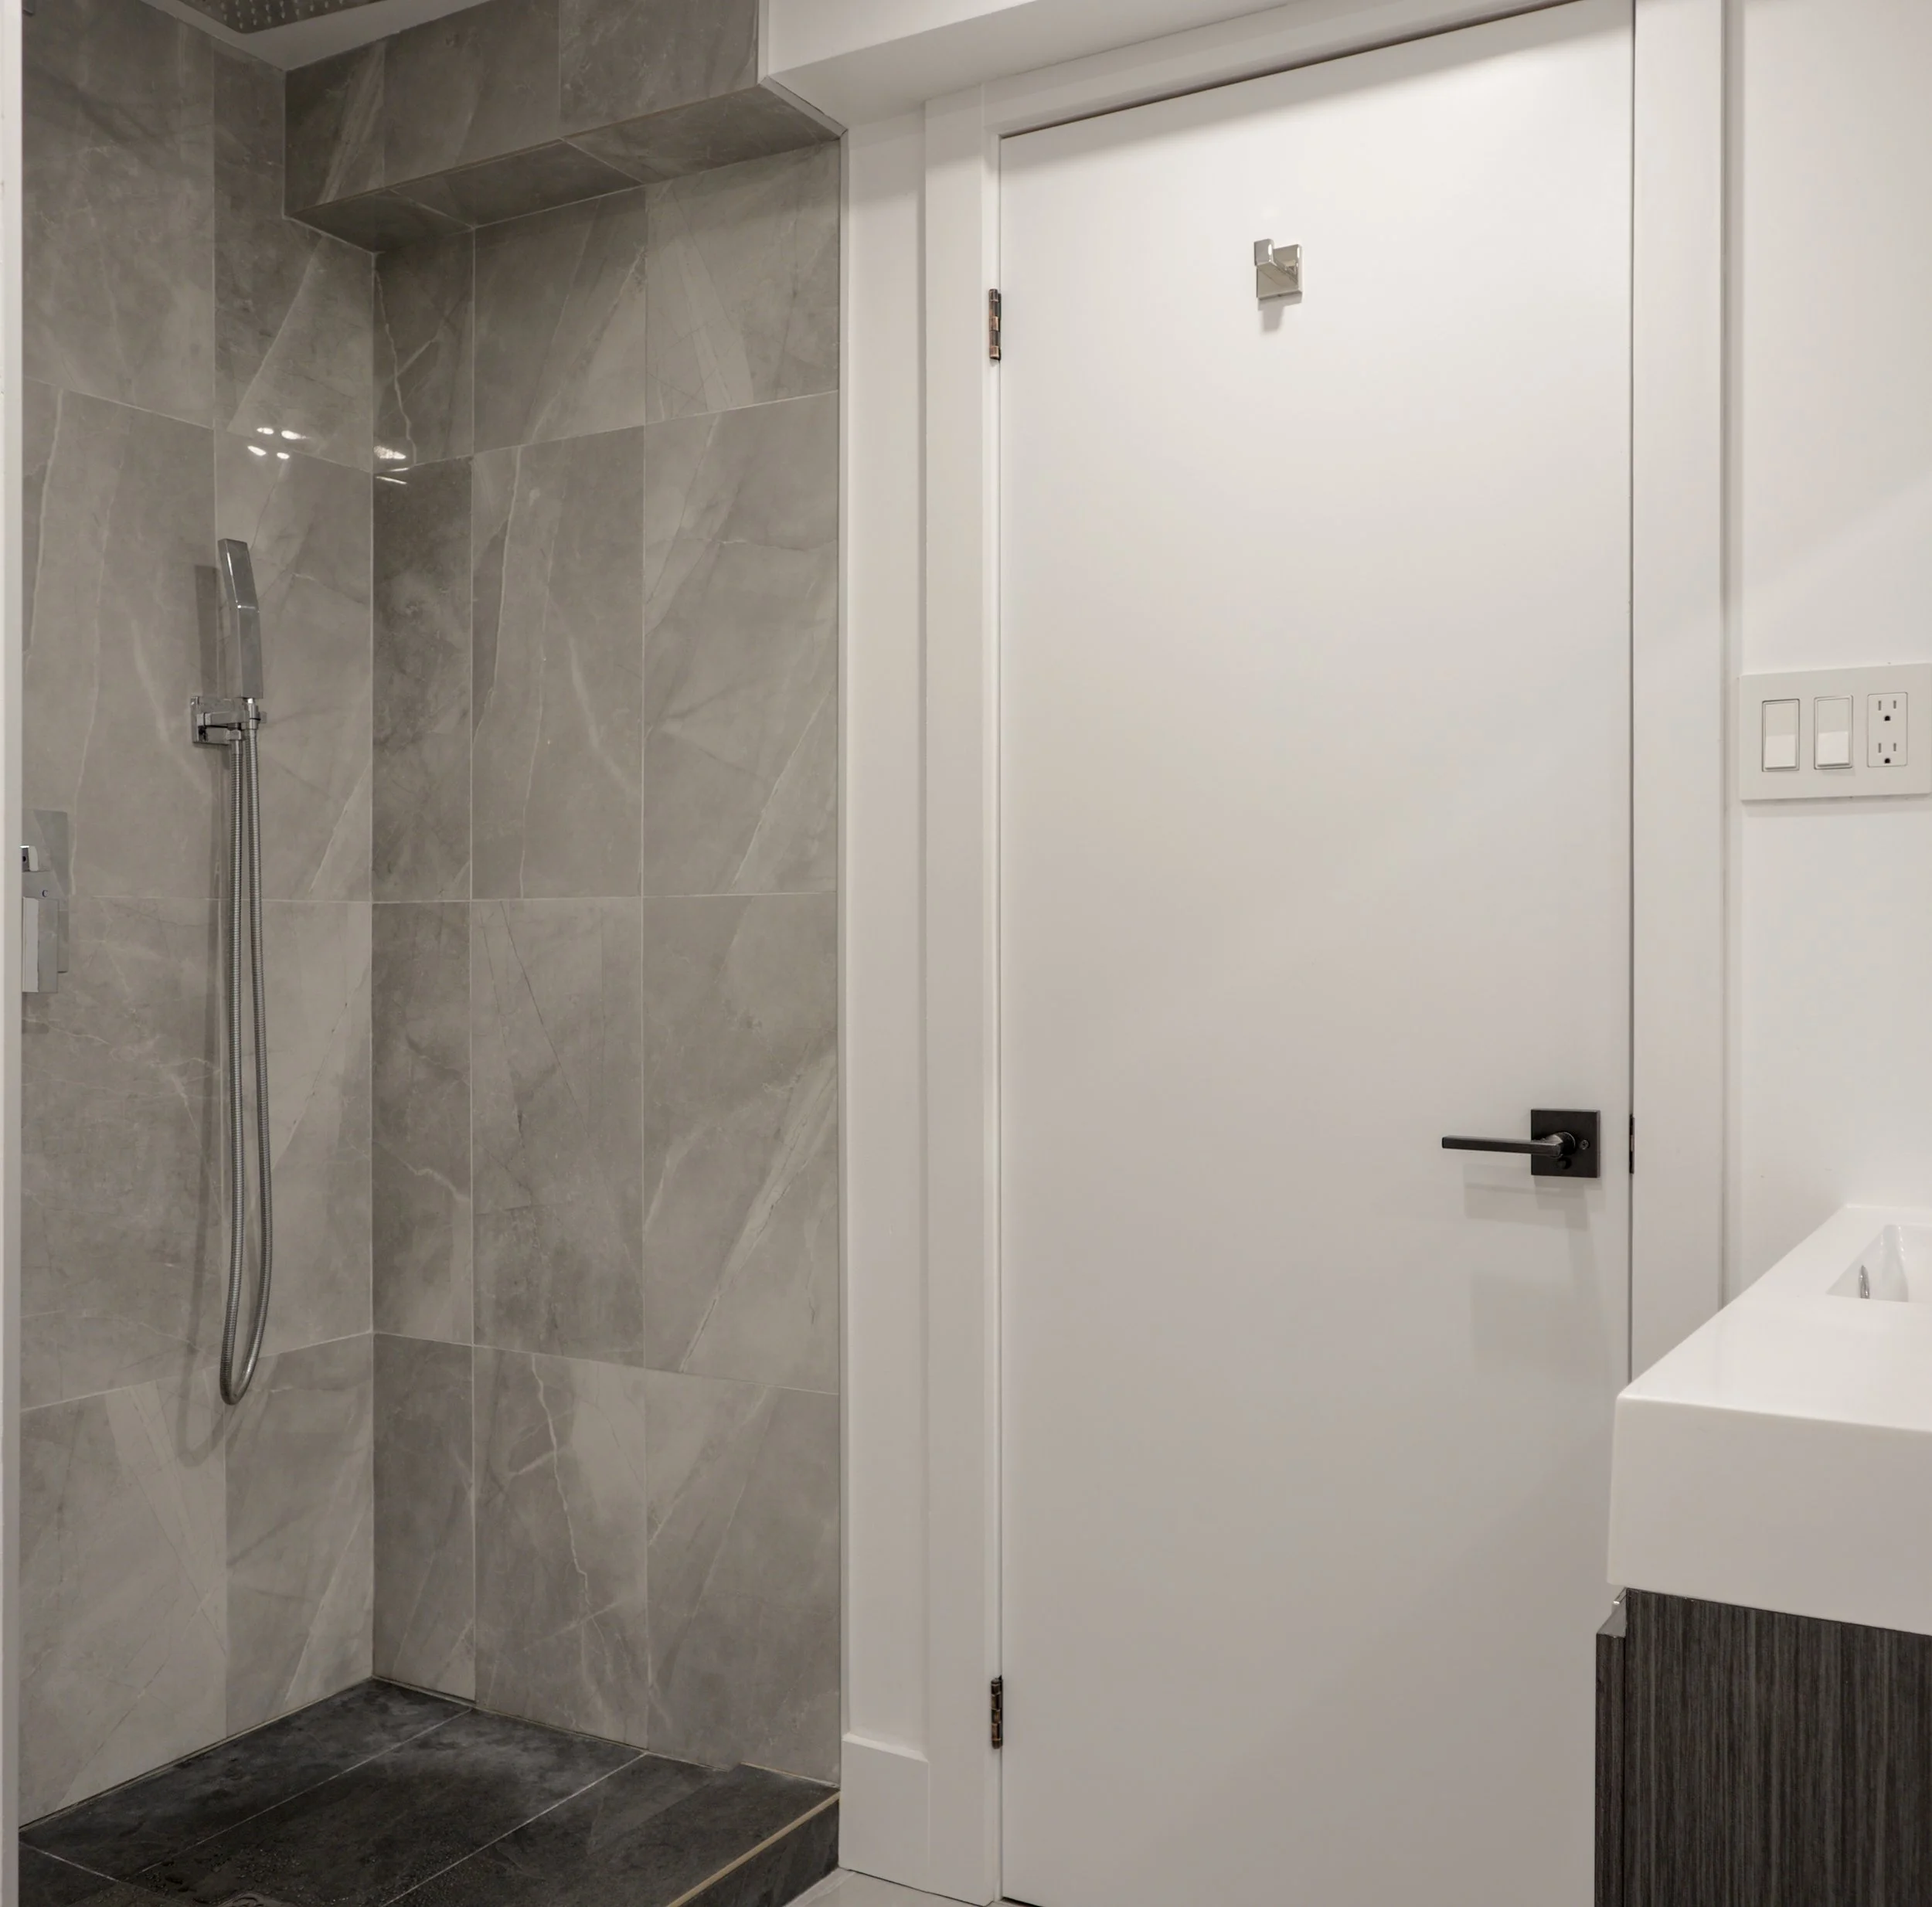
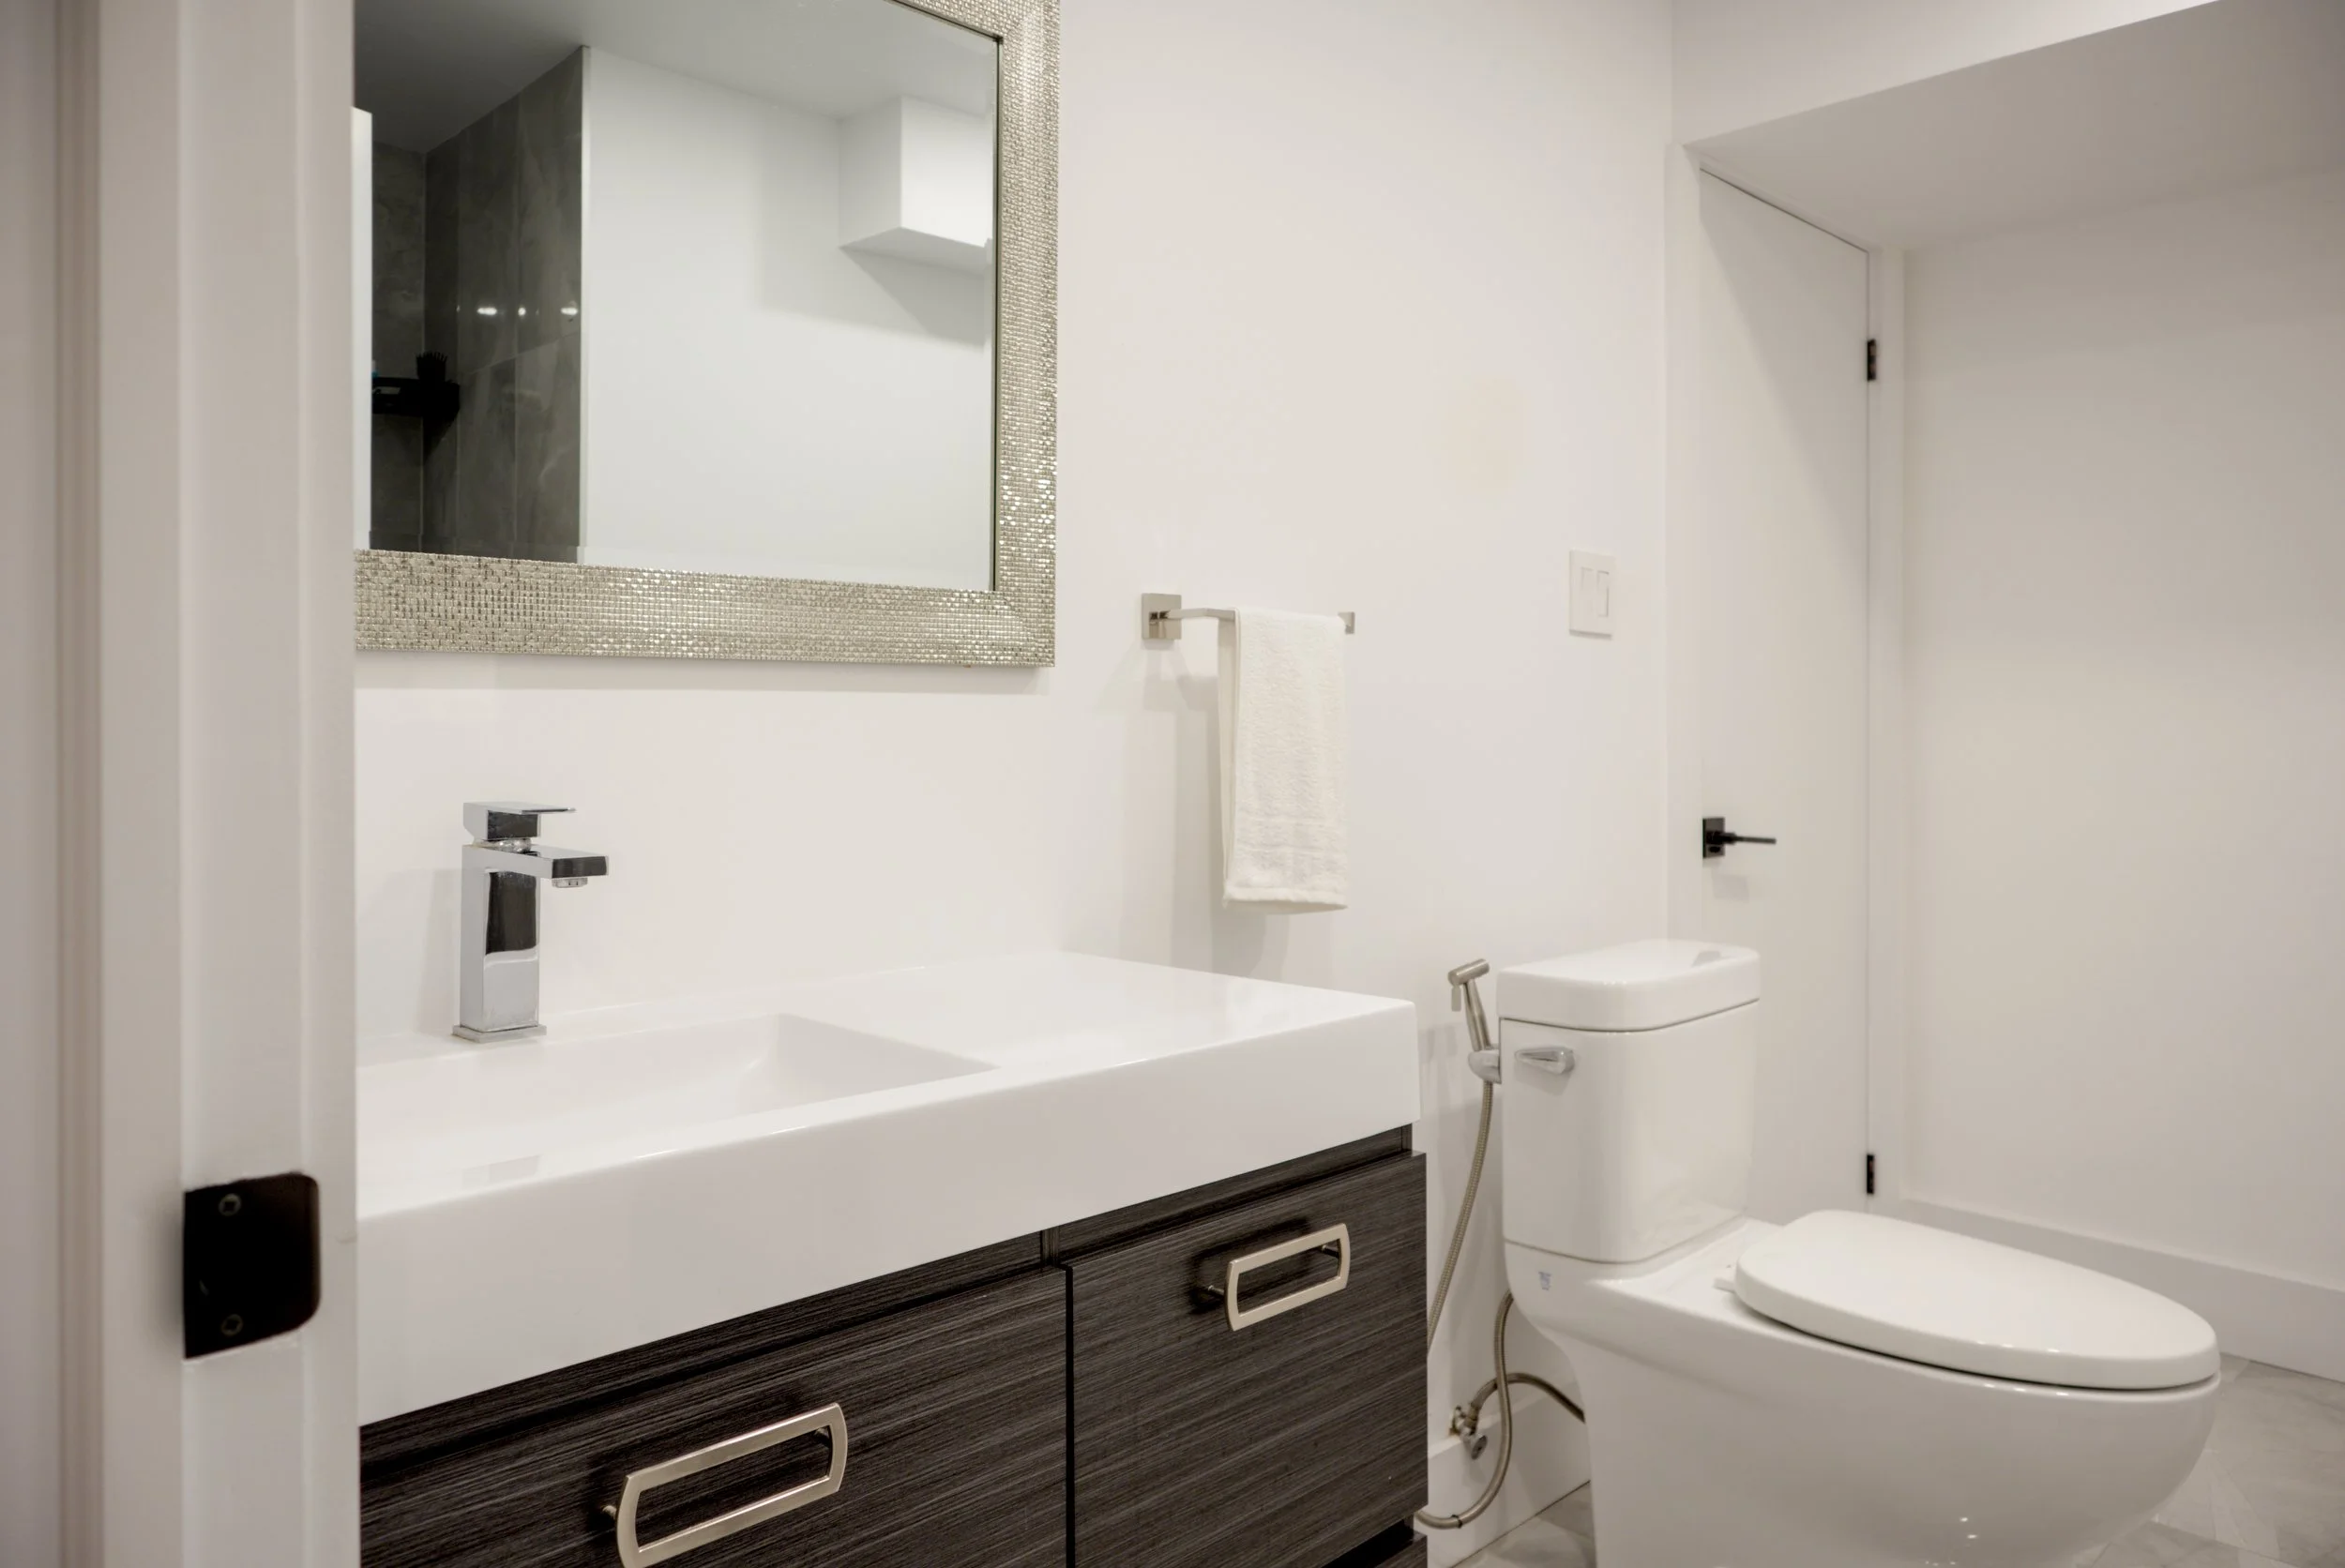
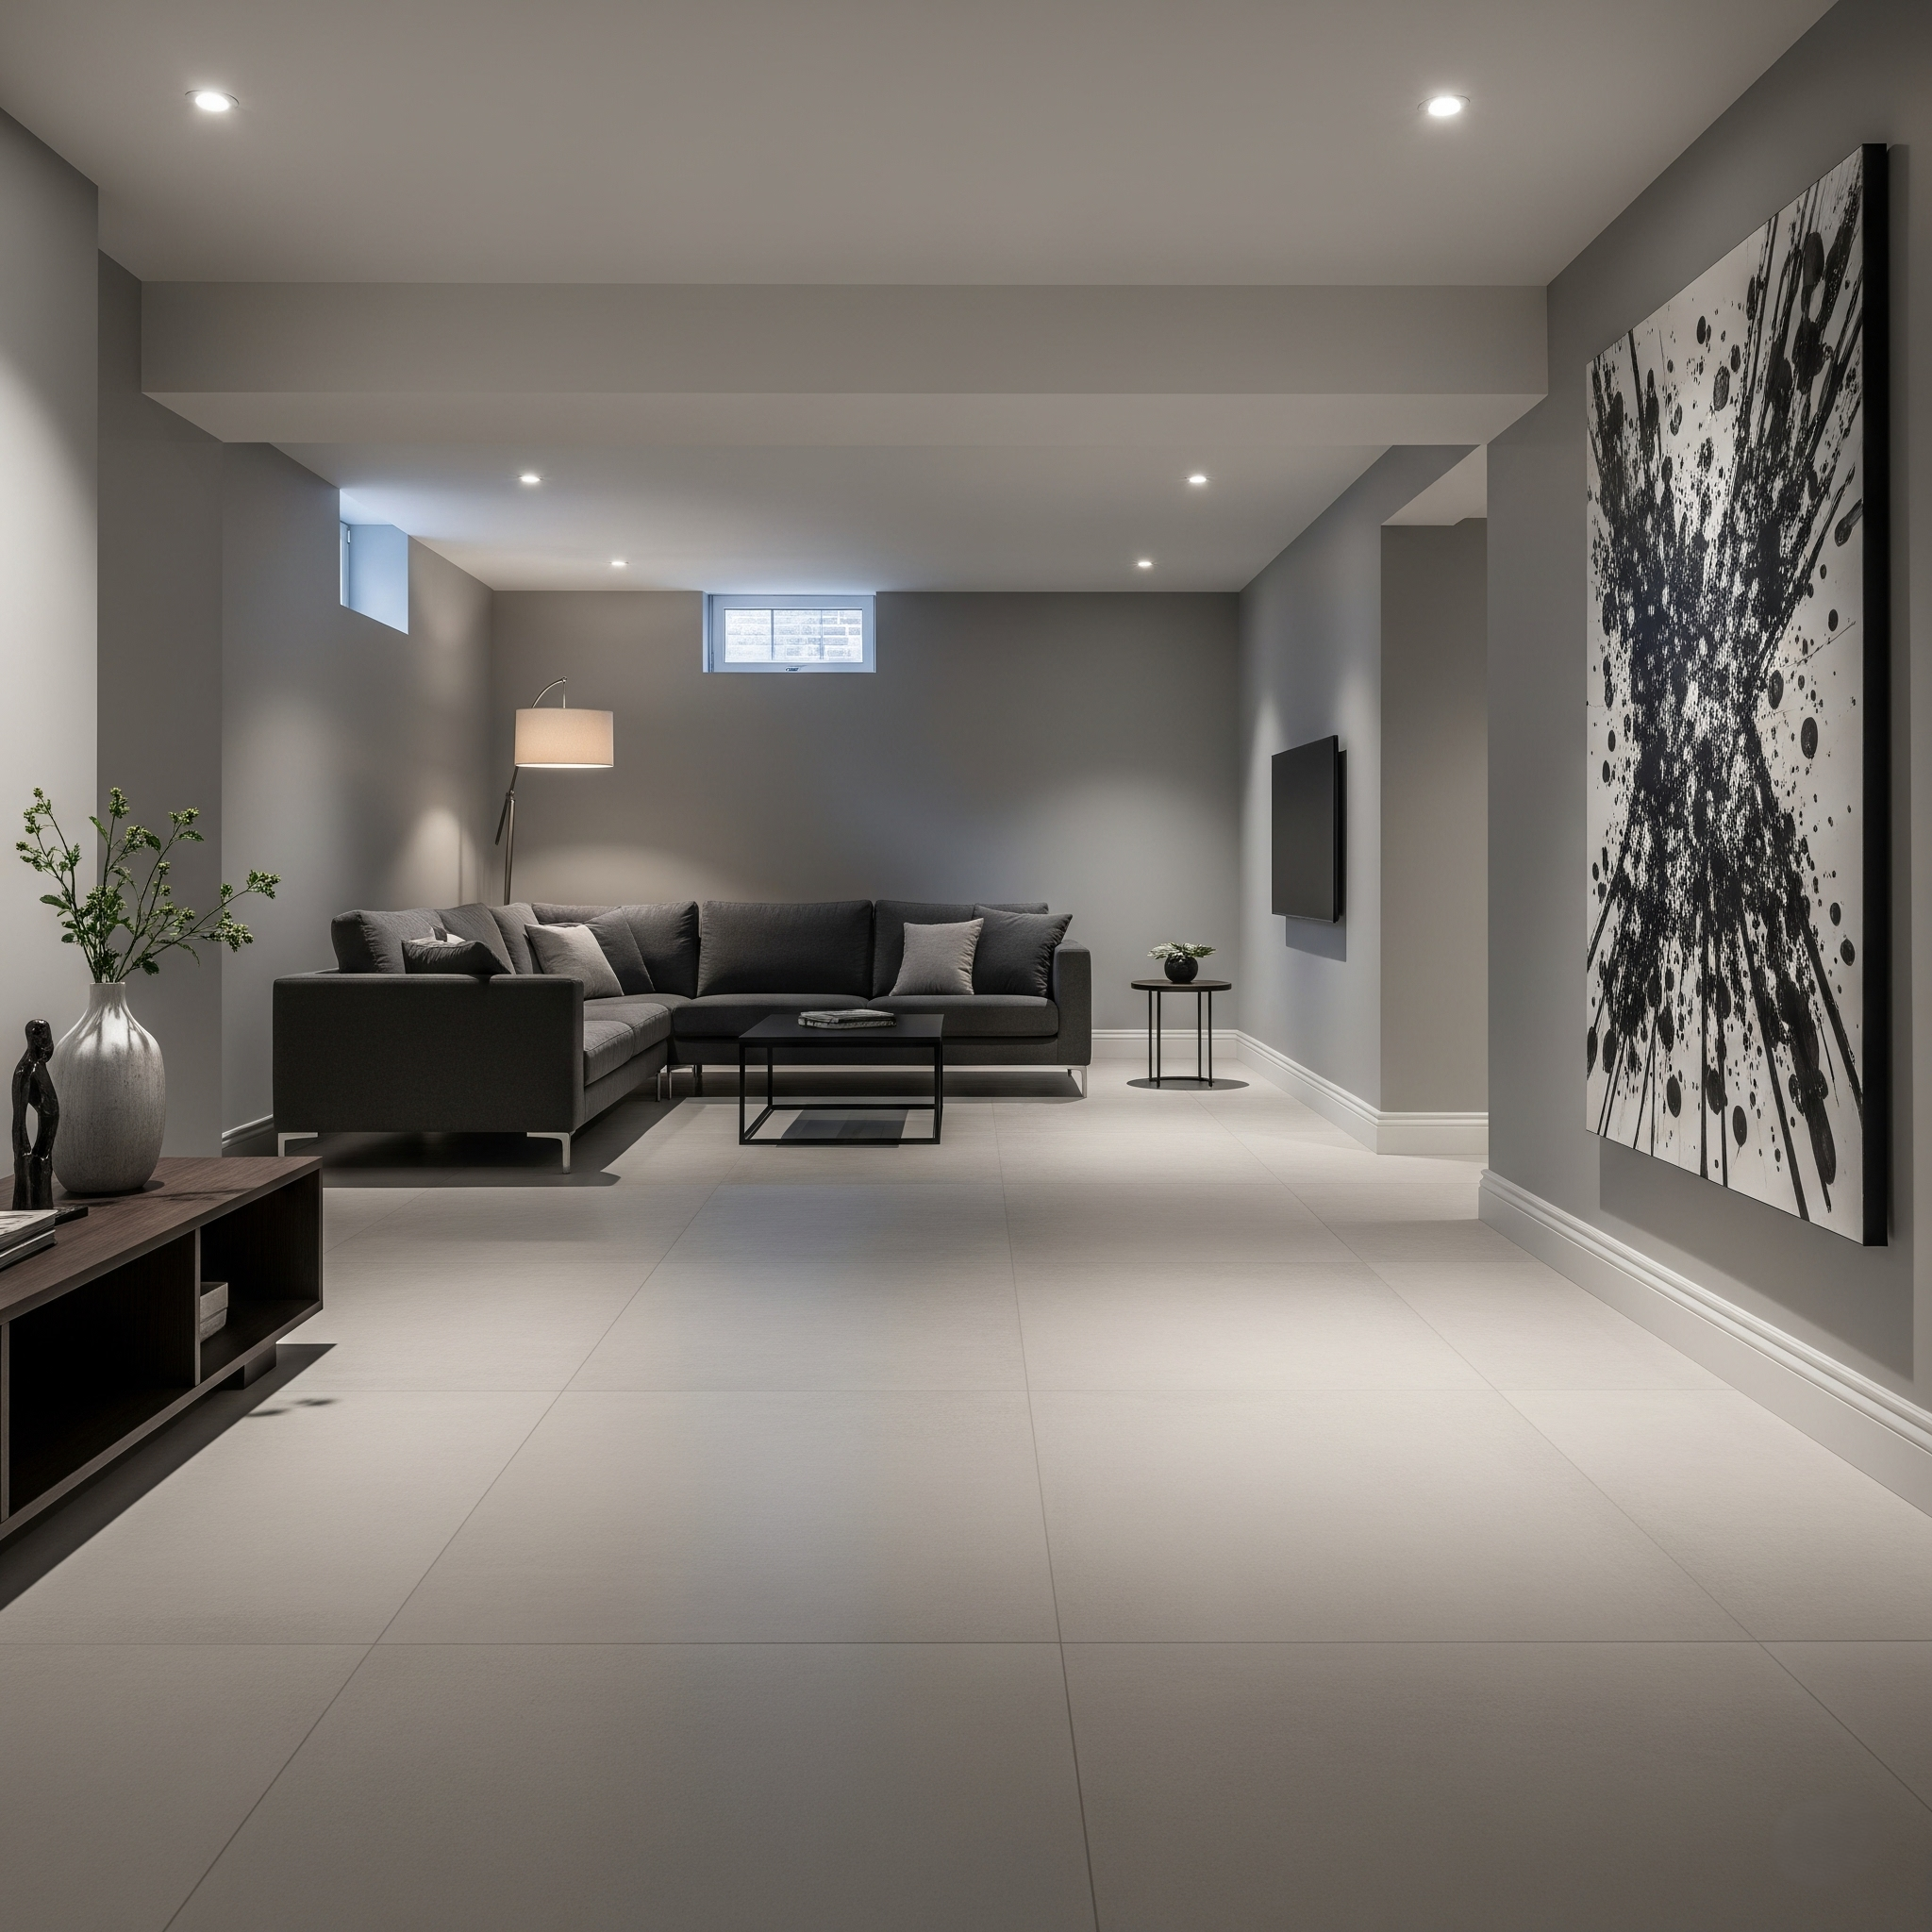
Finished basement bathroom featuring large-format porcelain tiles
🧱 Tile Work, Paint, Fixtures & Final Touches
Once waterproofing was done:
We tiled the shower base with large-format porcelain tiles
Then installed the shower walls, also using large-format tiles
The bathroom floor came next
Then it was time for paint—walls and ceiling
We installed the toilet, vanity, and shower fixtures
Added baseboards, door trim, and painted them all
Hung two doors (it’s an en-suite bathroom: one to the bedroom, one to the living space)
Installed door hardware, cleaned the space, and handed it off to a happy homeowner

Finished basement bathroom featuring large-format porcelain tiles
⏱️ The Full Timeline: Just Under 2 Weeks
From the first cut of framing to the final cleanup, the entire build took less than two weeks. That includes dealing with a surprise drain issue, custom layout adjustments, and all the finishing work.
🛁 Final Thoughts
Building a bathroom in an unfinished basement isn’t just about tile and drywall—it’s about problem-solving, code knowledge, and efficiency. Hopefully this gave you a good behind-the-scenes look at how a basement bathroom gets done the right way.
If you’re planning your own project and want to talk through options—or just ask a few questions—feel free to reach out.
Services We Offer
Pam Arc inc. Home Renovations
Pam Arc inc. Basement Renovations
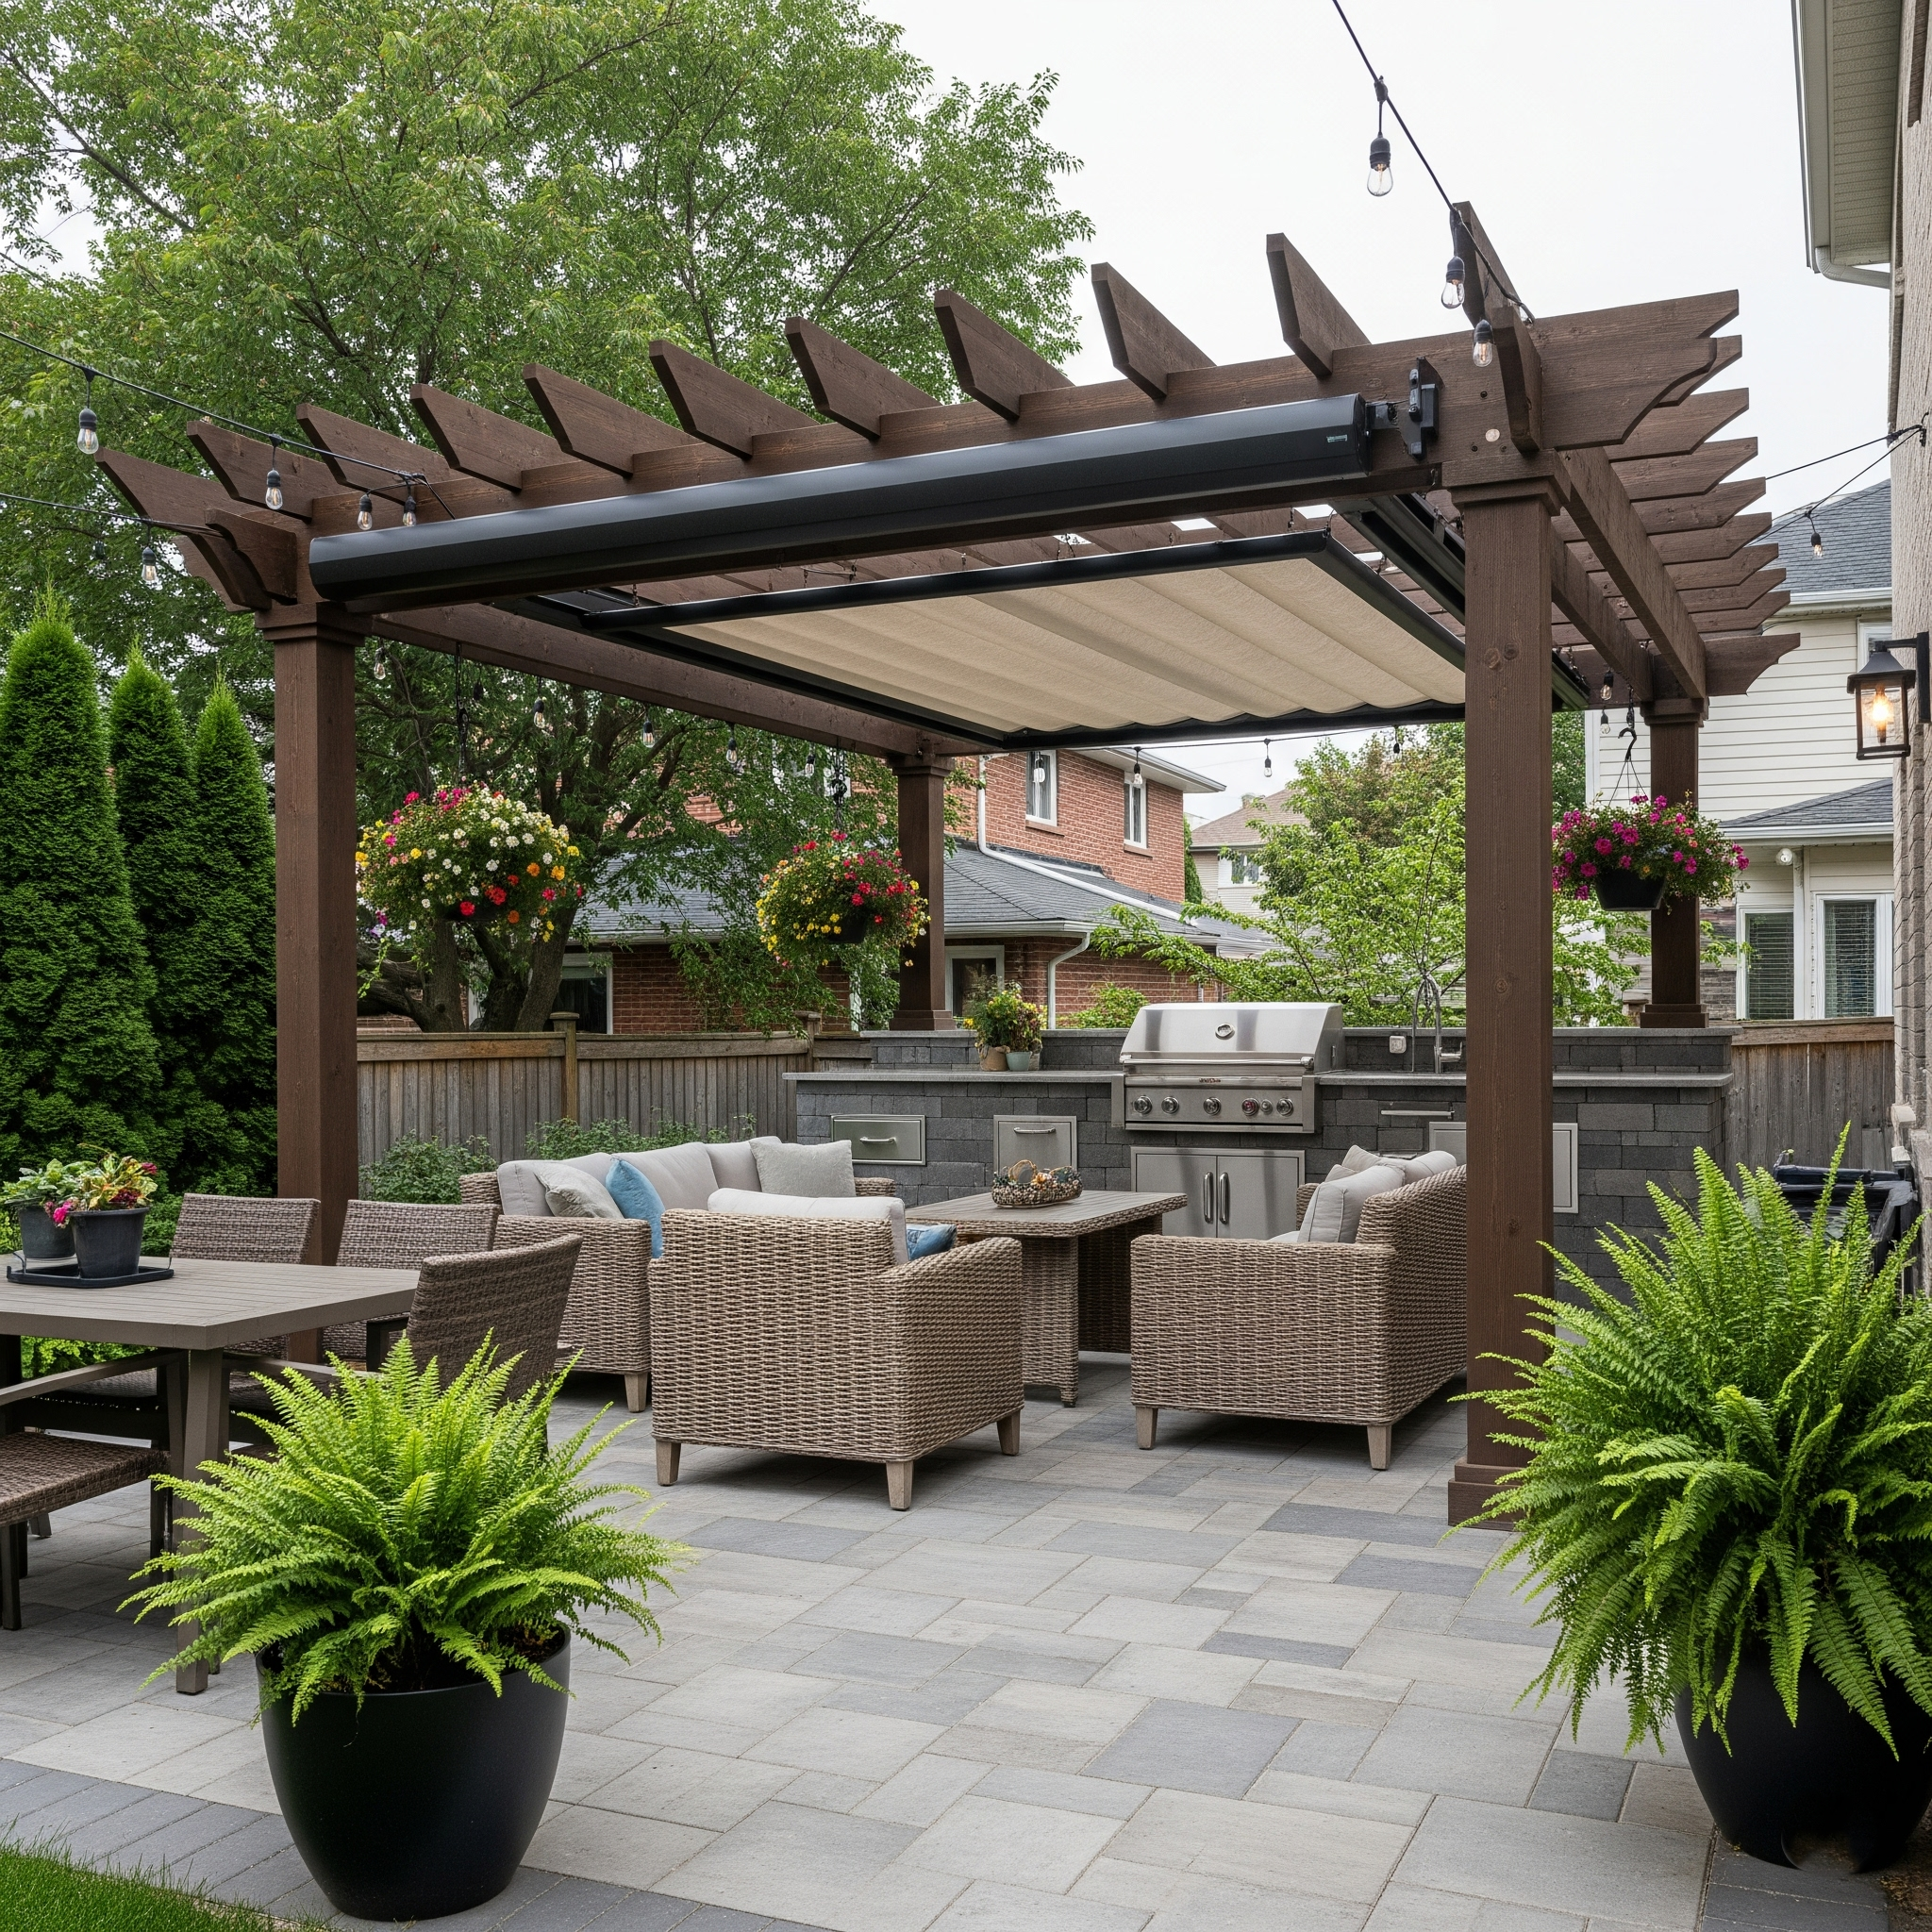
Pam Arc inc. Patio Renovations