
Bathroom Shower Remodel - From Panel System to Built-in
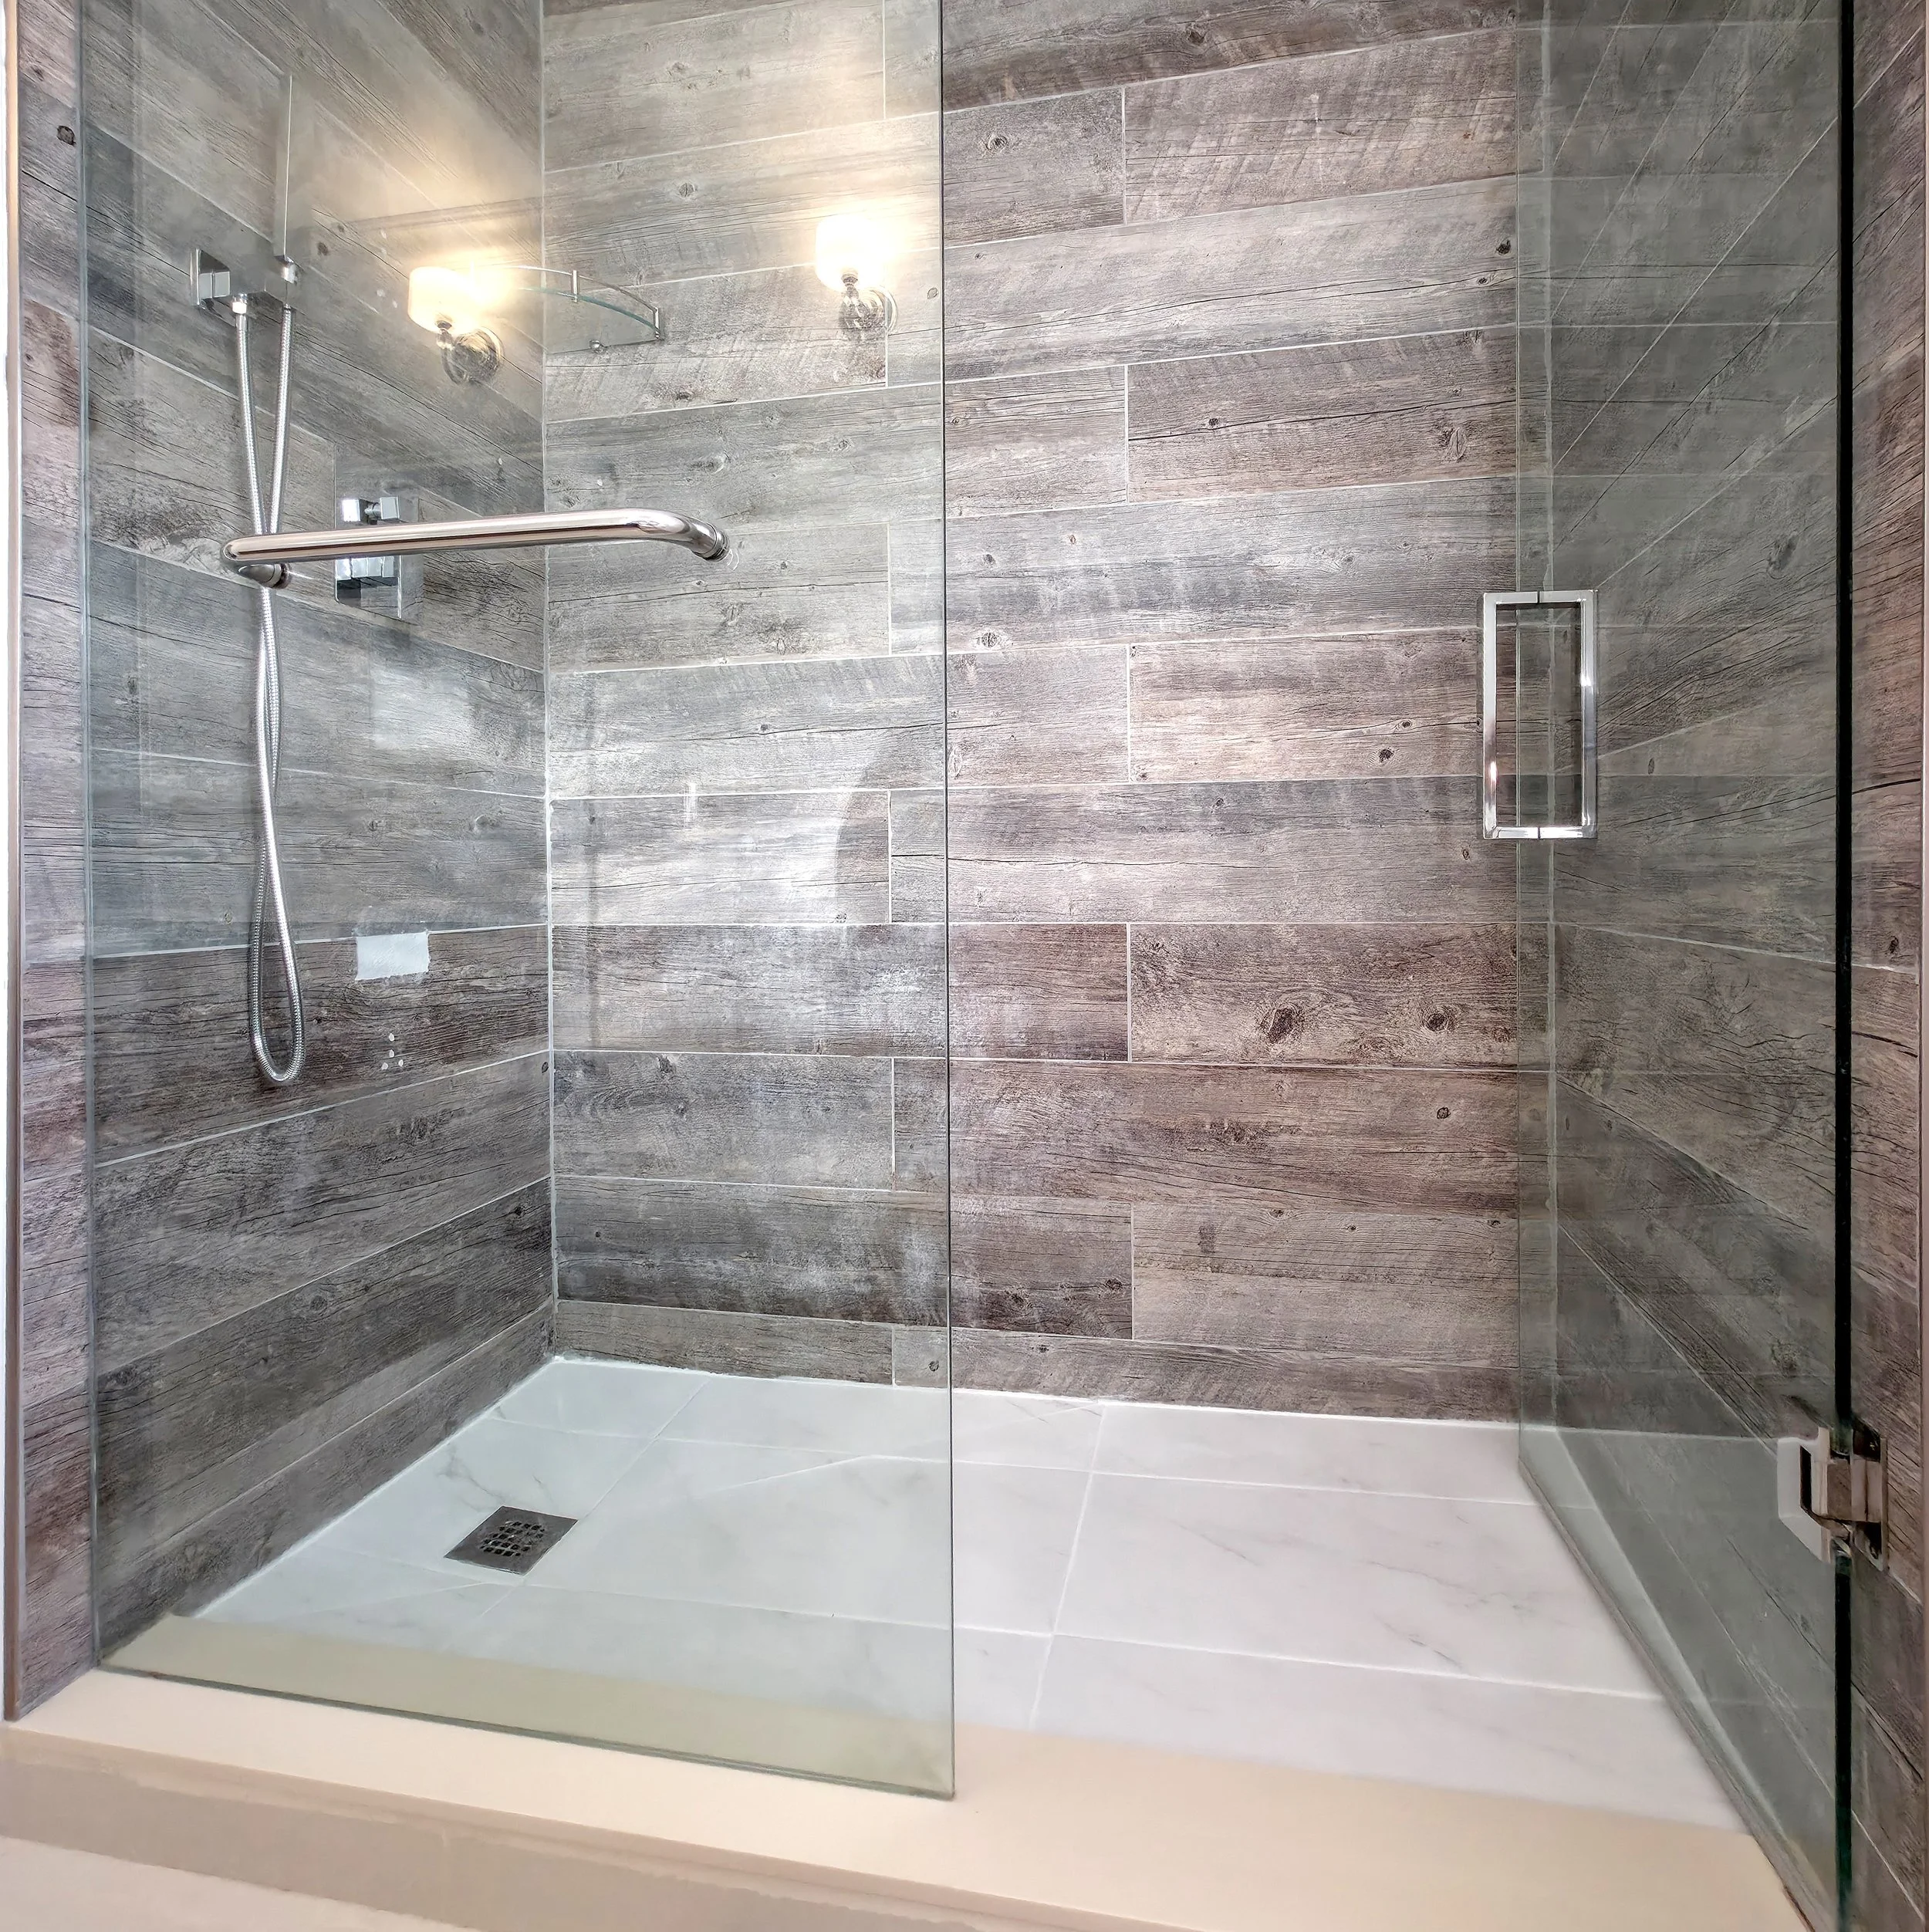
Modern porcelain shower renovation with built-in system
Sometimes, the toughest renovations aren’t the ones where you start from scratch — they’re the ones where everything is already finished, and you’re asked to make major changes without damaging the space around it. That was exactly the case with this recent bathroom project.
The Challenge
Our client had recently renovated their bathroom but wasn’t happy with two key choices they had made:
The pebble stone shower floor, which they found uncomfortable and difficult to clean.
The shower panel system, which felt bulky and not in line with the modern, sleek look they wanted.
Their question for us: “Is it possible to change just the shower floor and convert the shower panel into a built-in system without redoing the entire shower?”
Normally, the answer would be no — since working around finished porcelain walls, a quartz curb, and tempered glass enclosure is a risky process. Everything was already installed, from the vanity to the flooring, so there was no room for error.
Finding a Way
The first major factor was the shower base. If the original installer had used a Schluter system, removal would have destroyed the waterproofing and made the project nearly impossible. Thankfully, the shower had been built on a mortar base, which gave us the option to carefully remove and rebuild the floor.
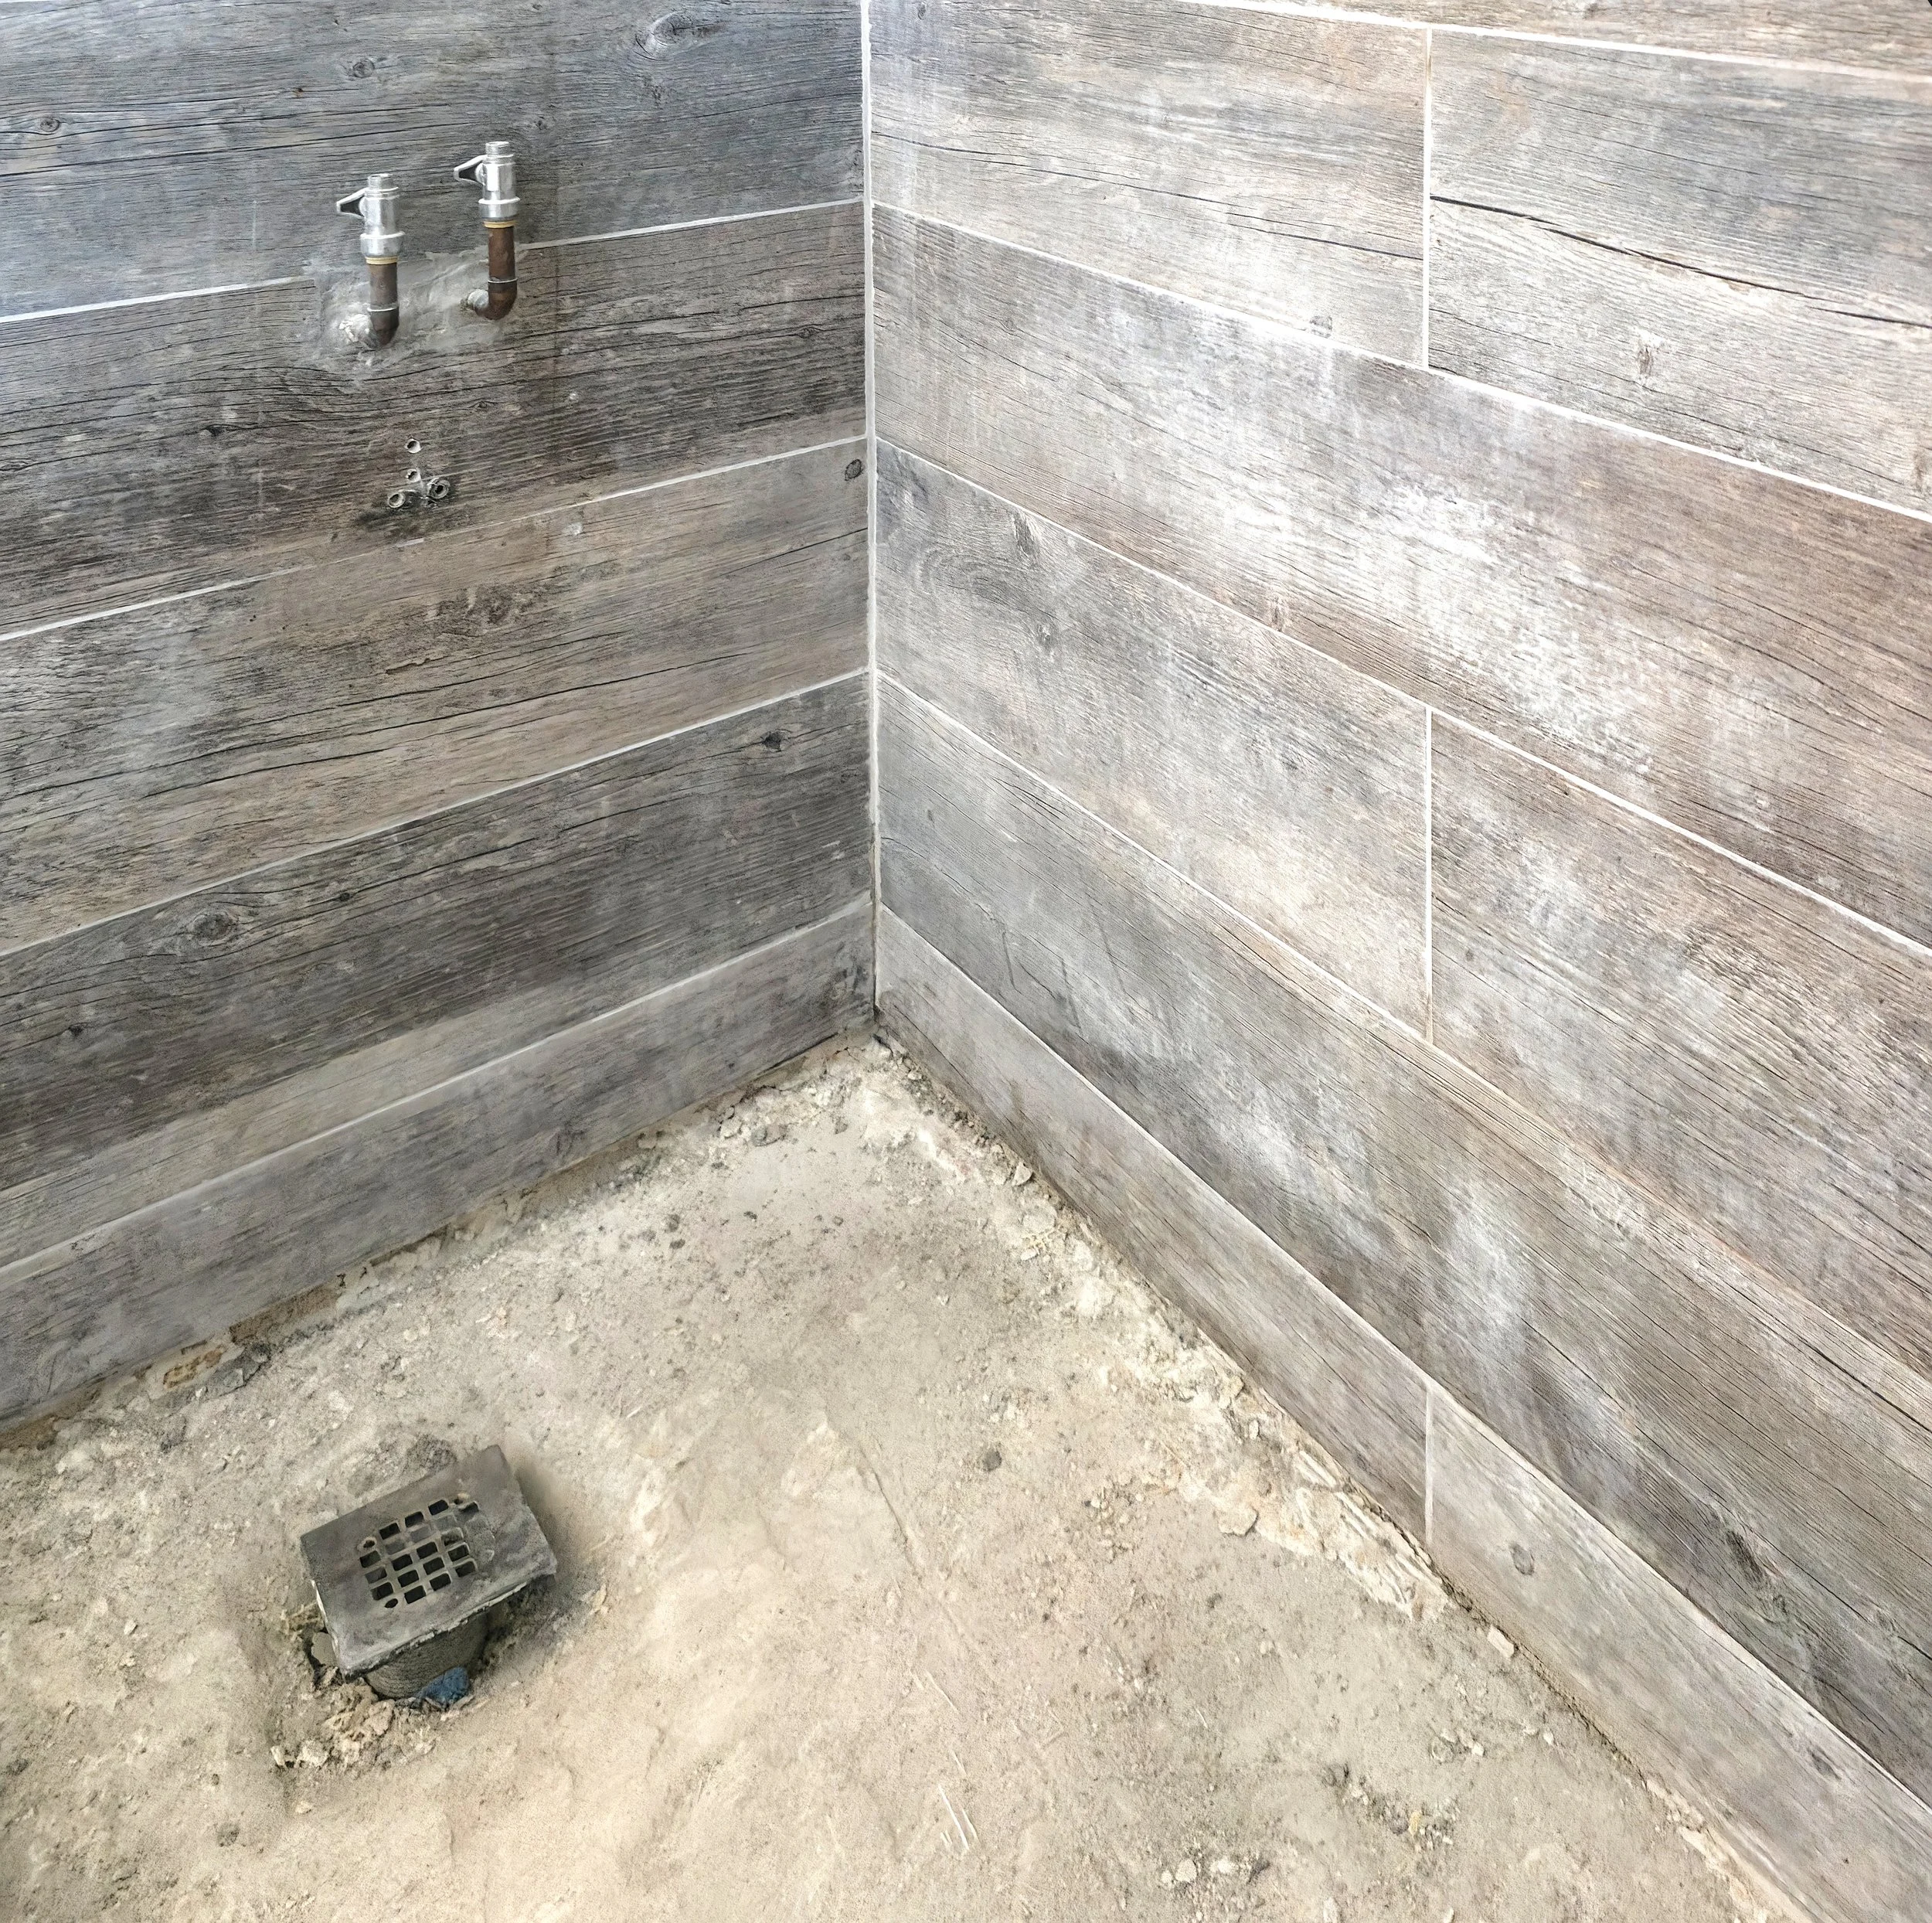
Already demolished pebble stones, exposing the mortar base and drain
Another view of the already demolished pebble stones, exposing the sub-base
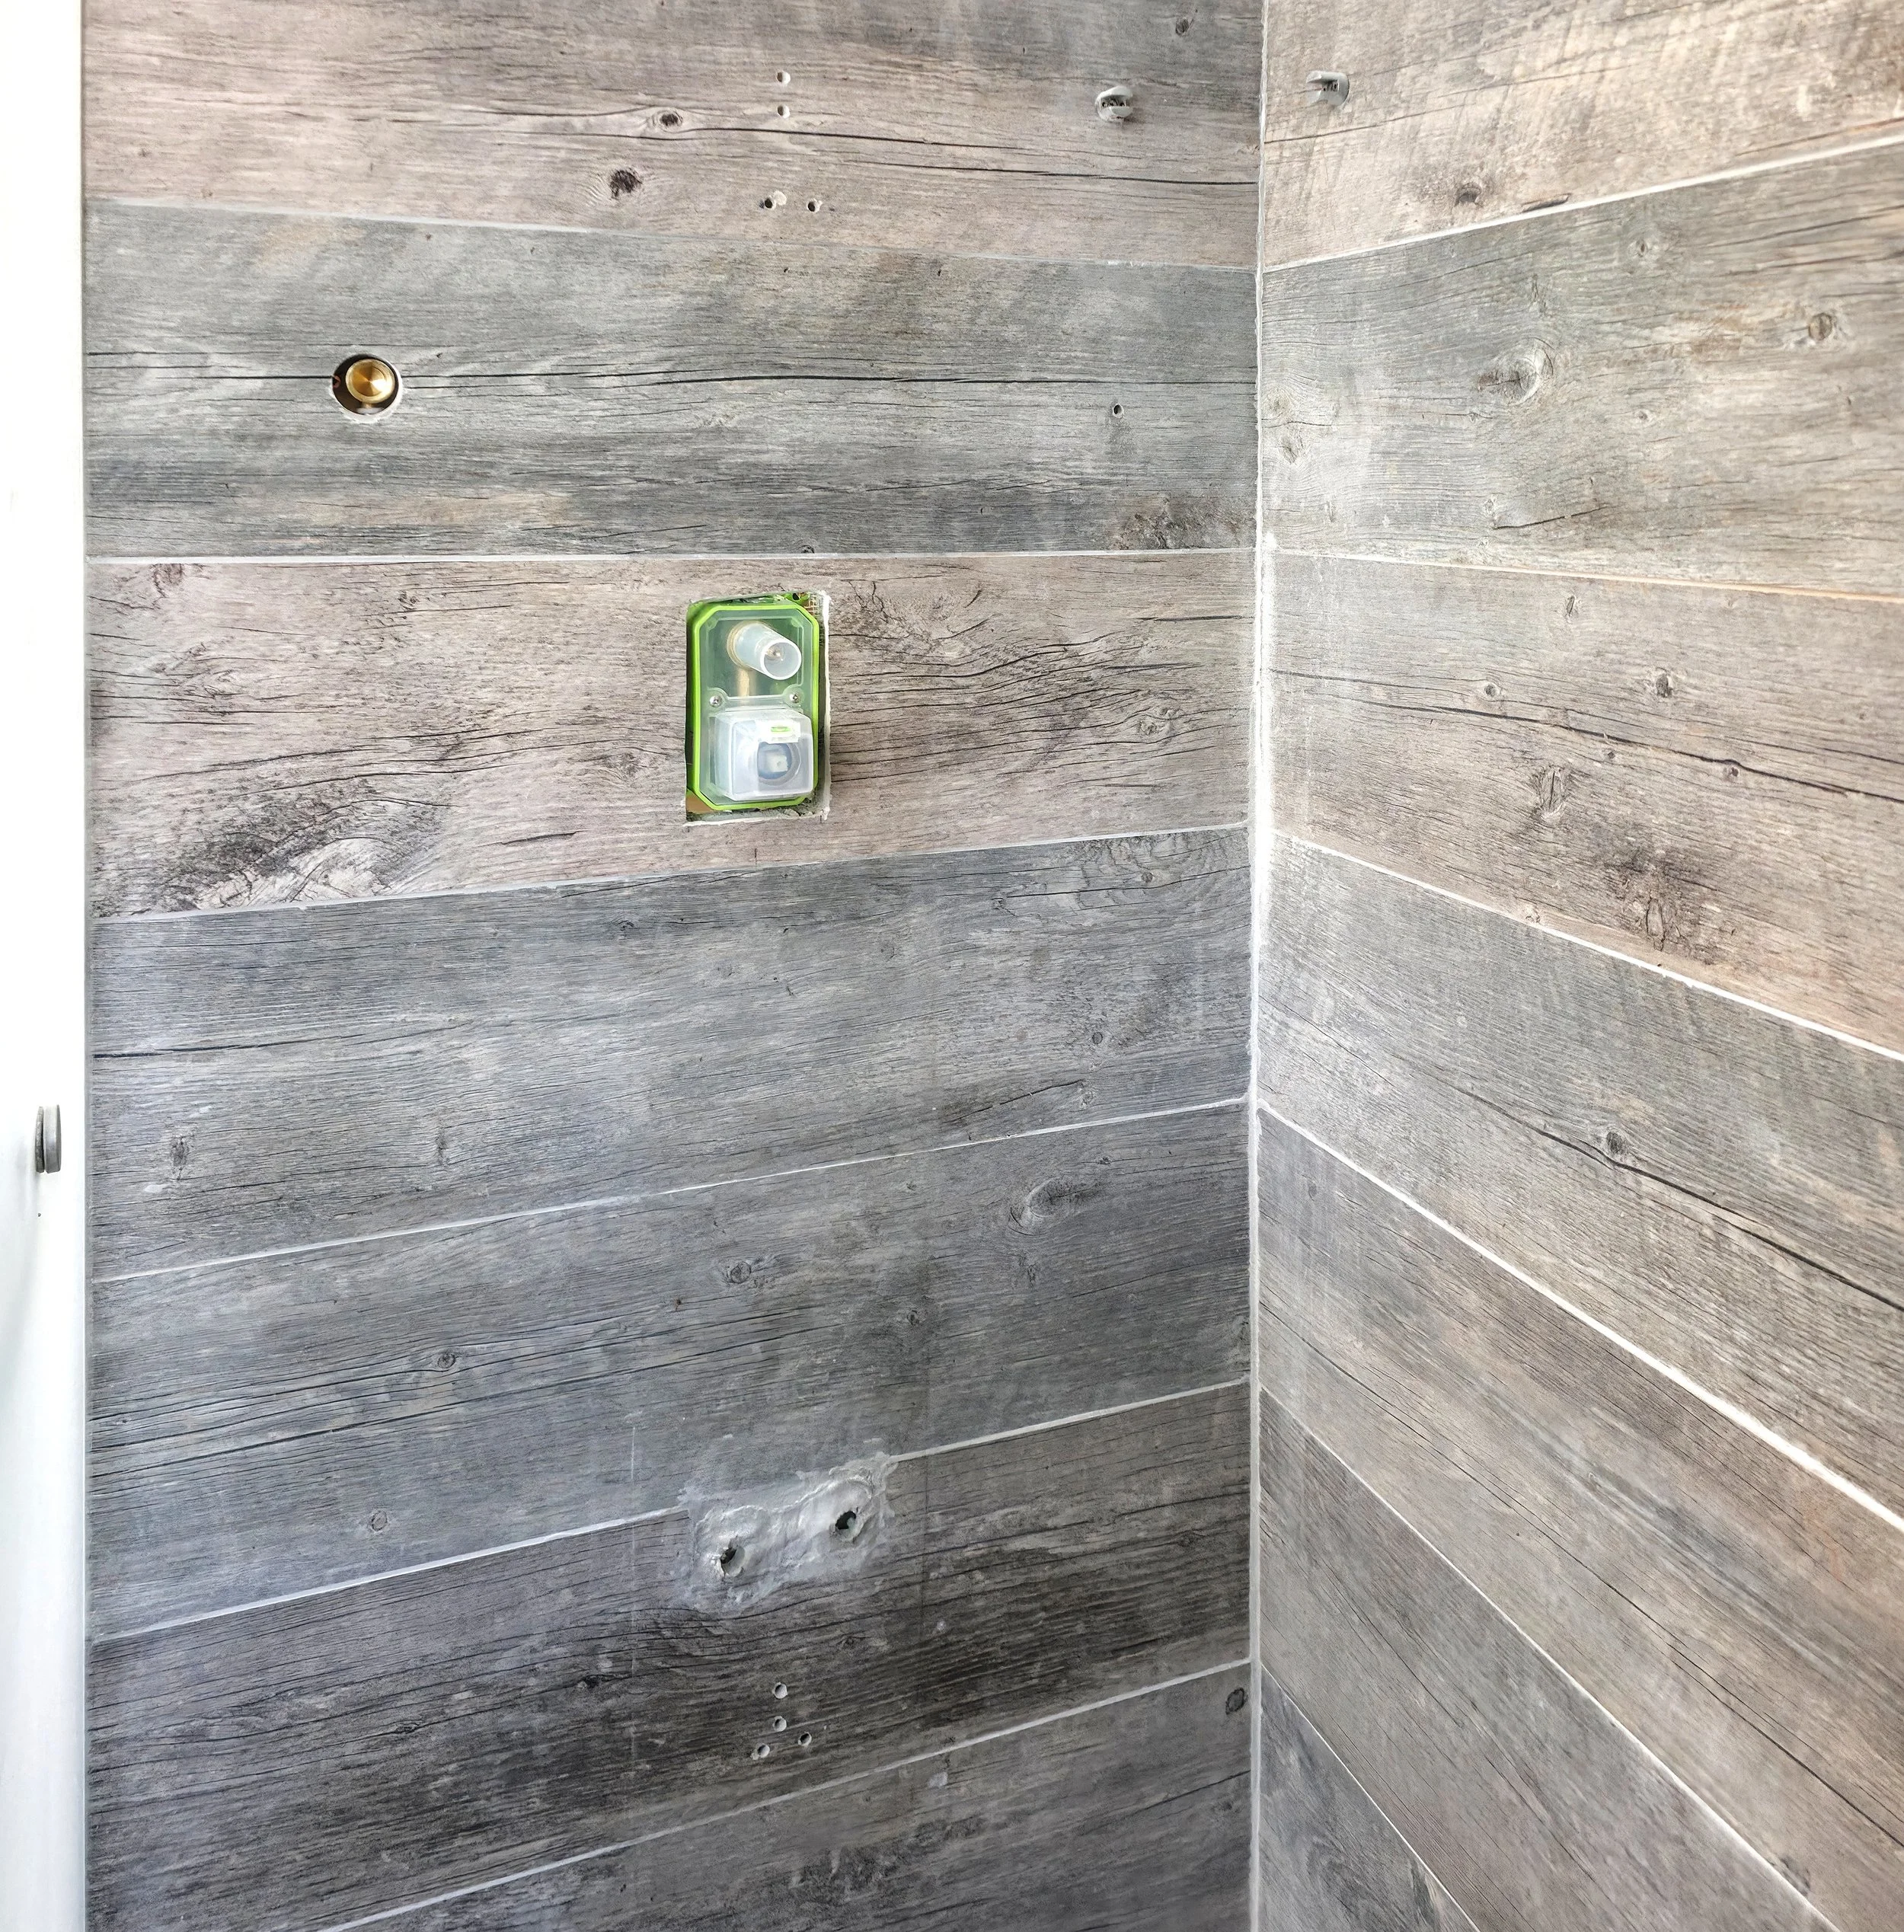
The second challenge was plumbing. To replace the shower panel with a built-in valve, we needed access behind the wall. Since removing the shower tiles was not an option, we worked from the closet on the other side of the wall. This required precise planning and extra effort to line everything up, but it allowed us to make the necessary changes without disturbing the finished shower walls.
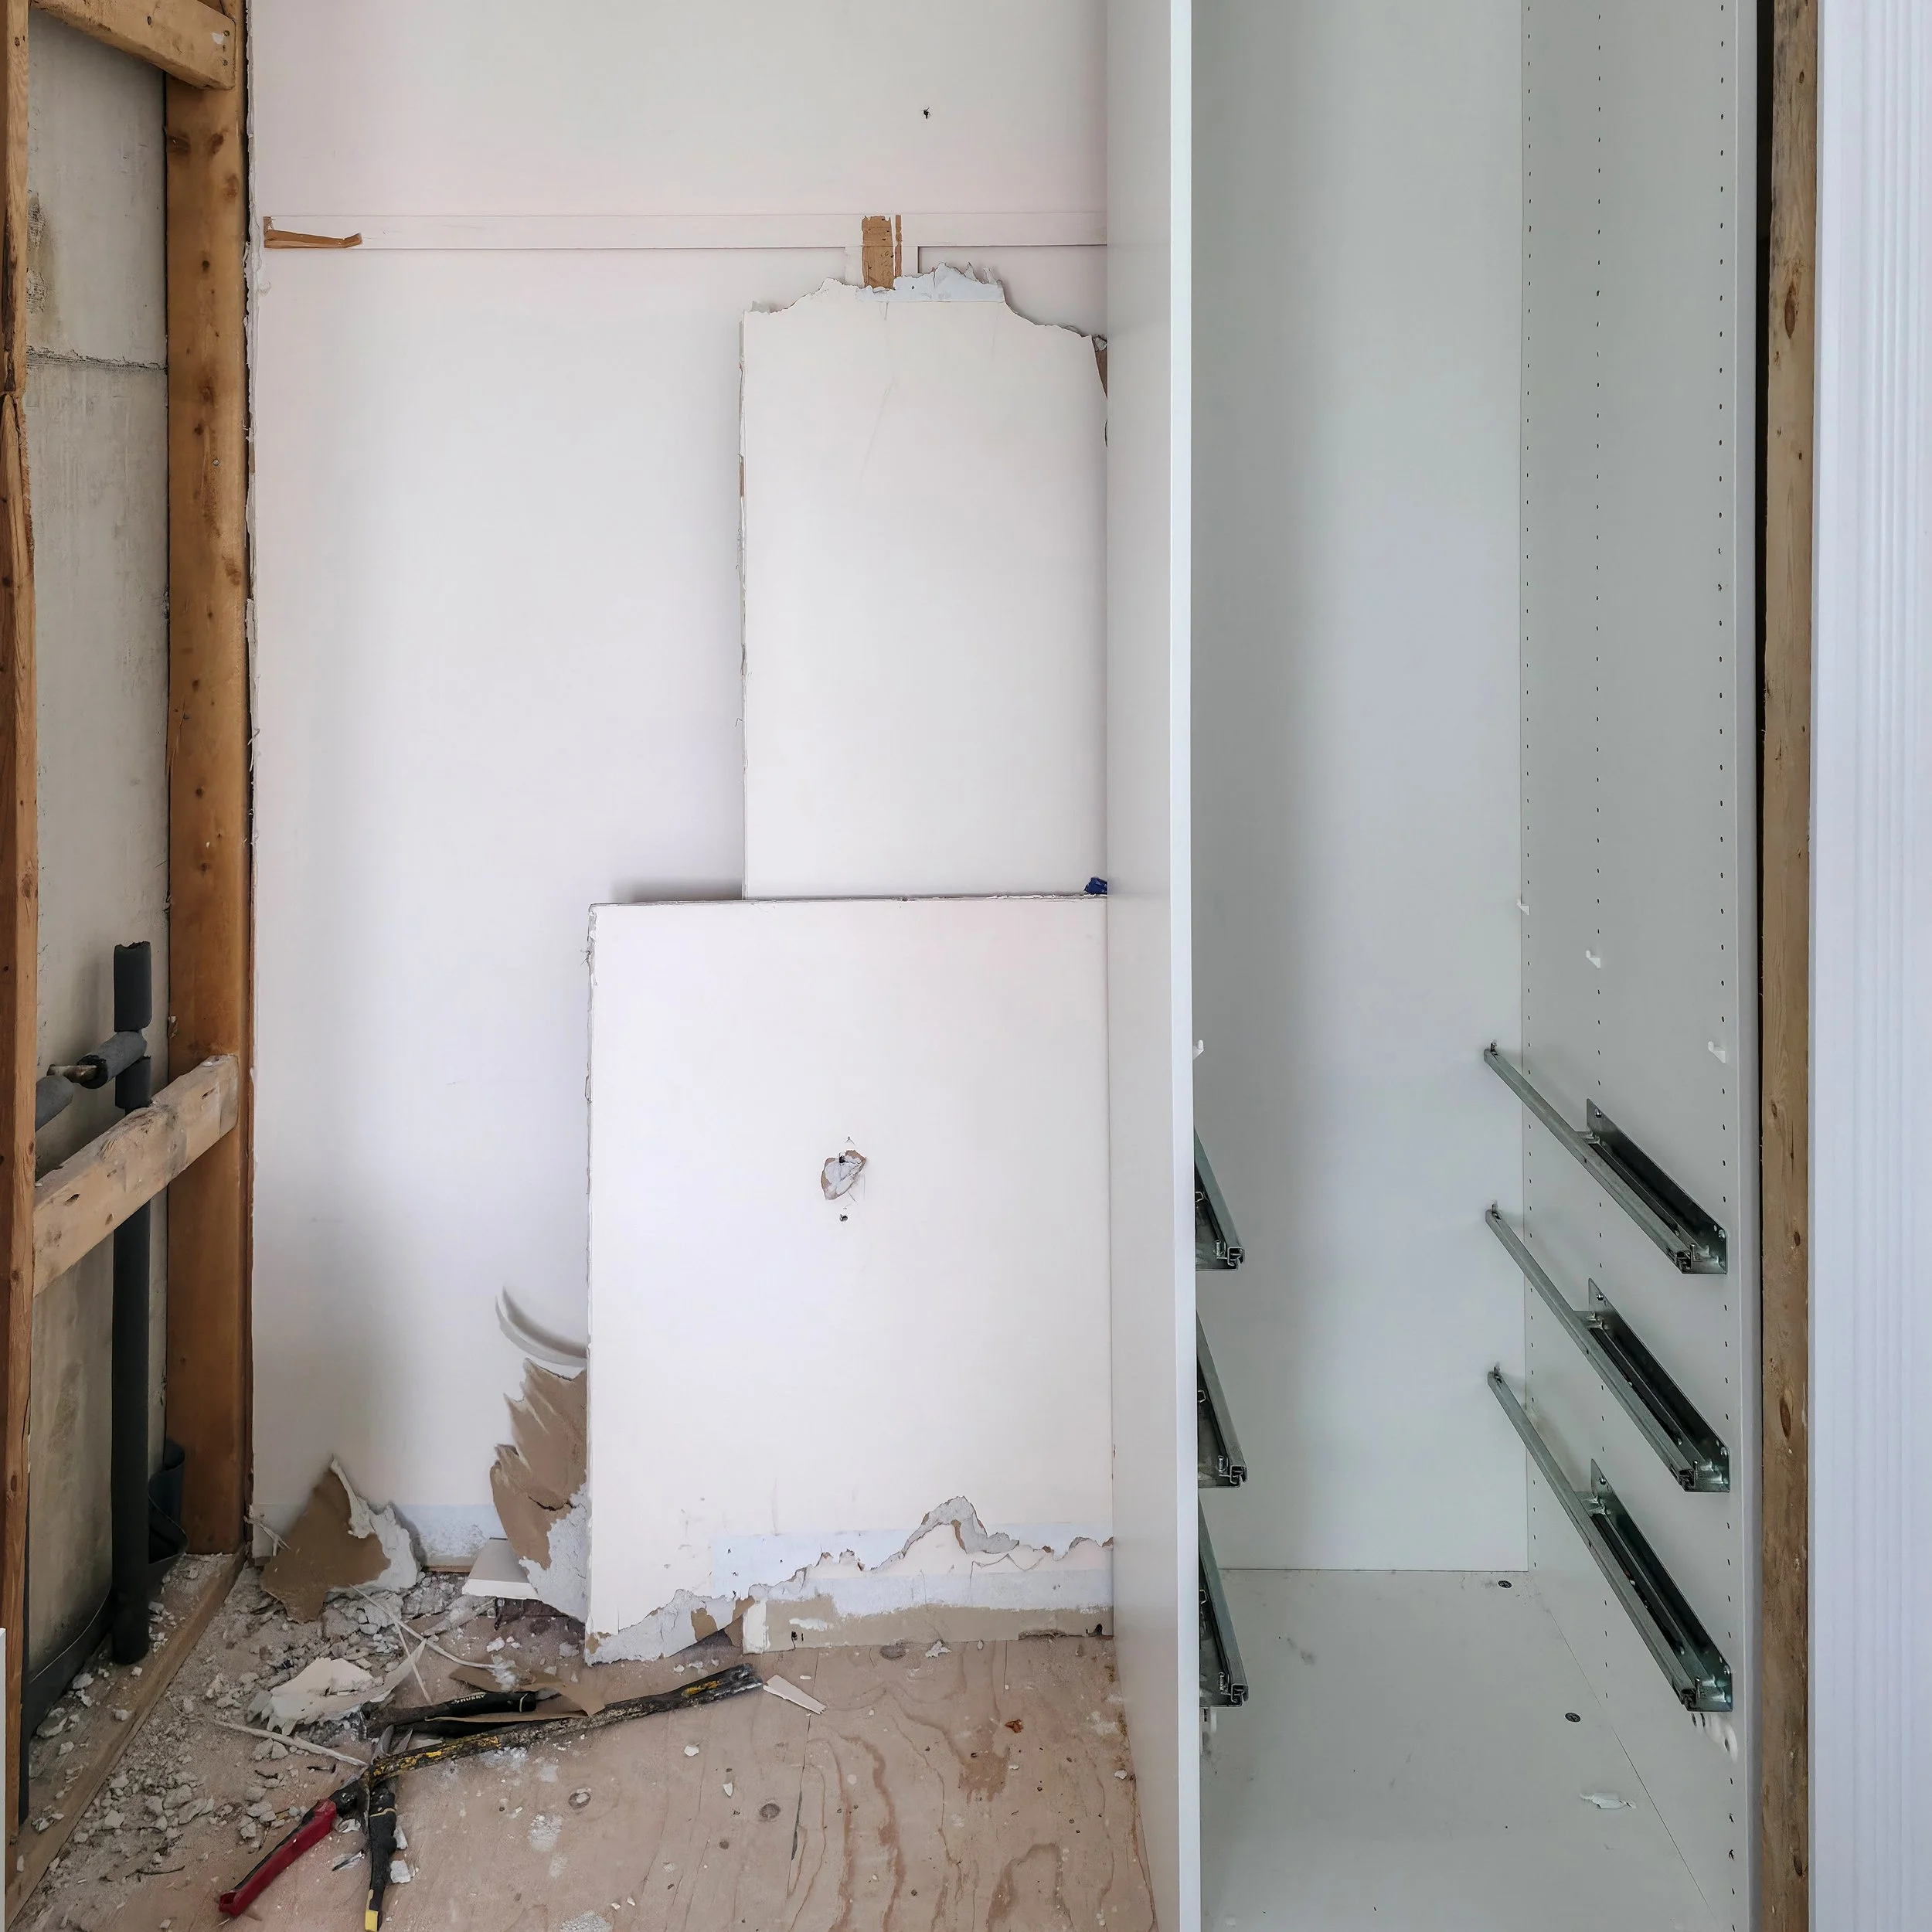
The closet, and drywall behind the shower has been removed to exposed the plumbing
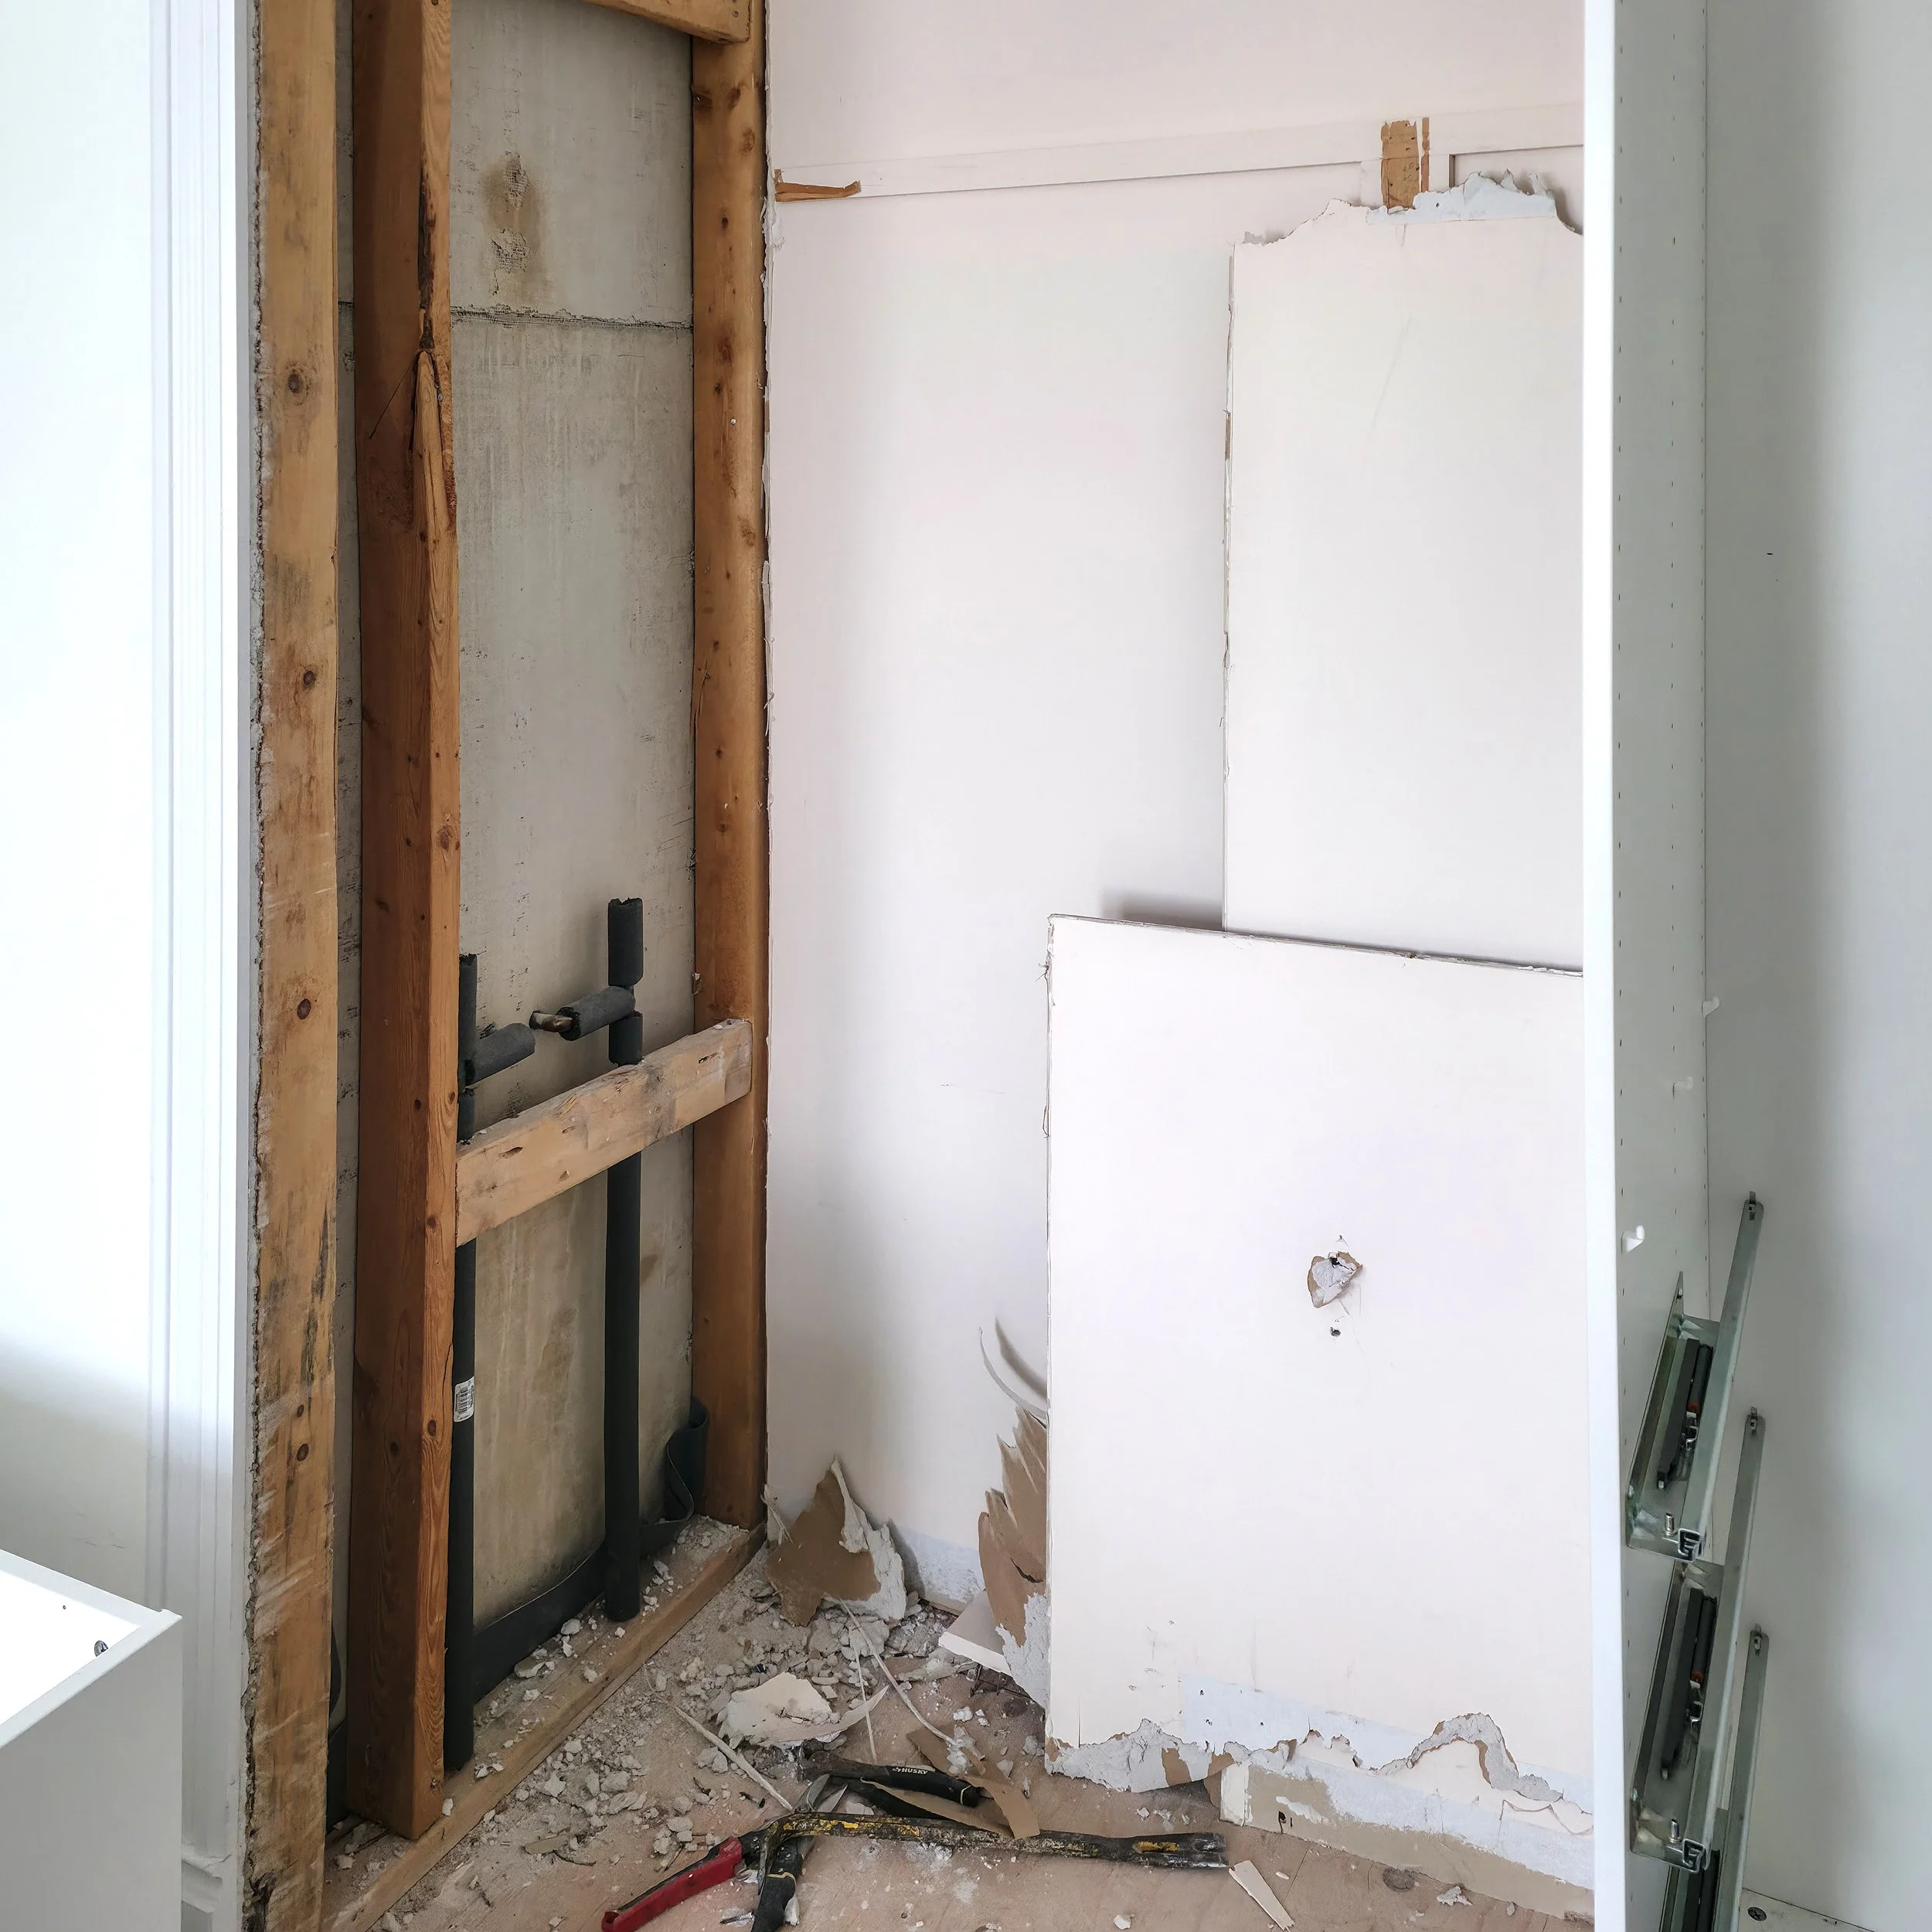
Another view at exposing the plumbing behind the shower
The Process
Preparation: We masked and protected every surface in the bathroom to avoid accidental damage.
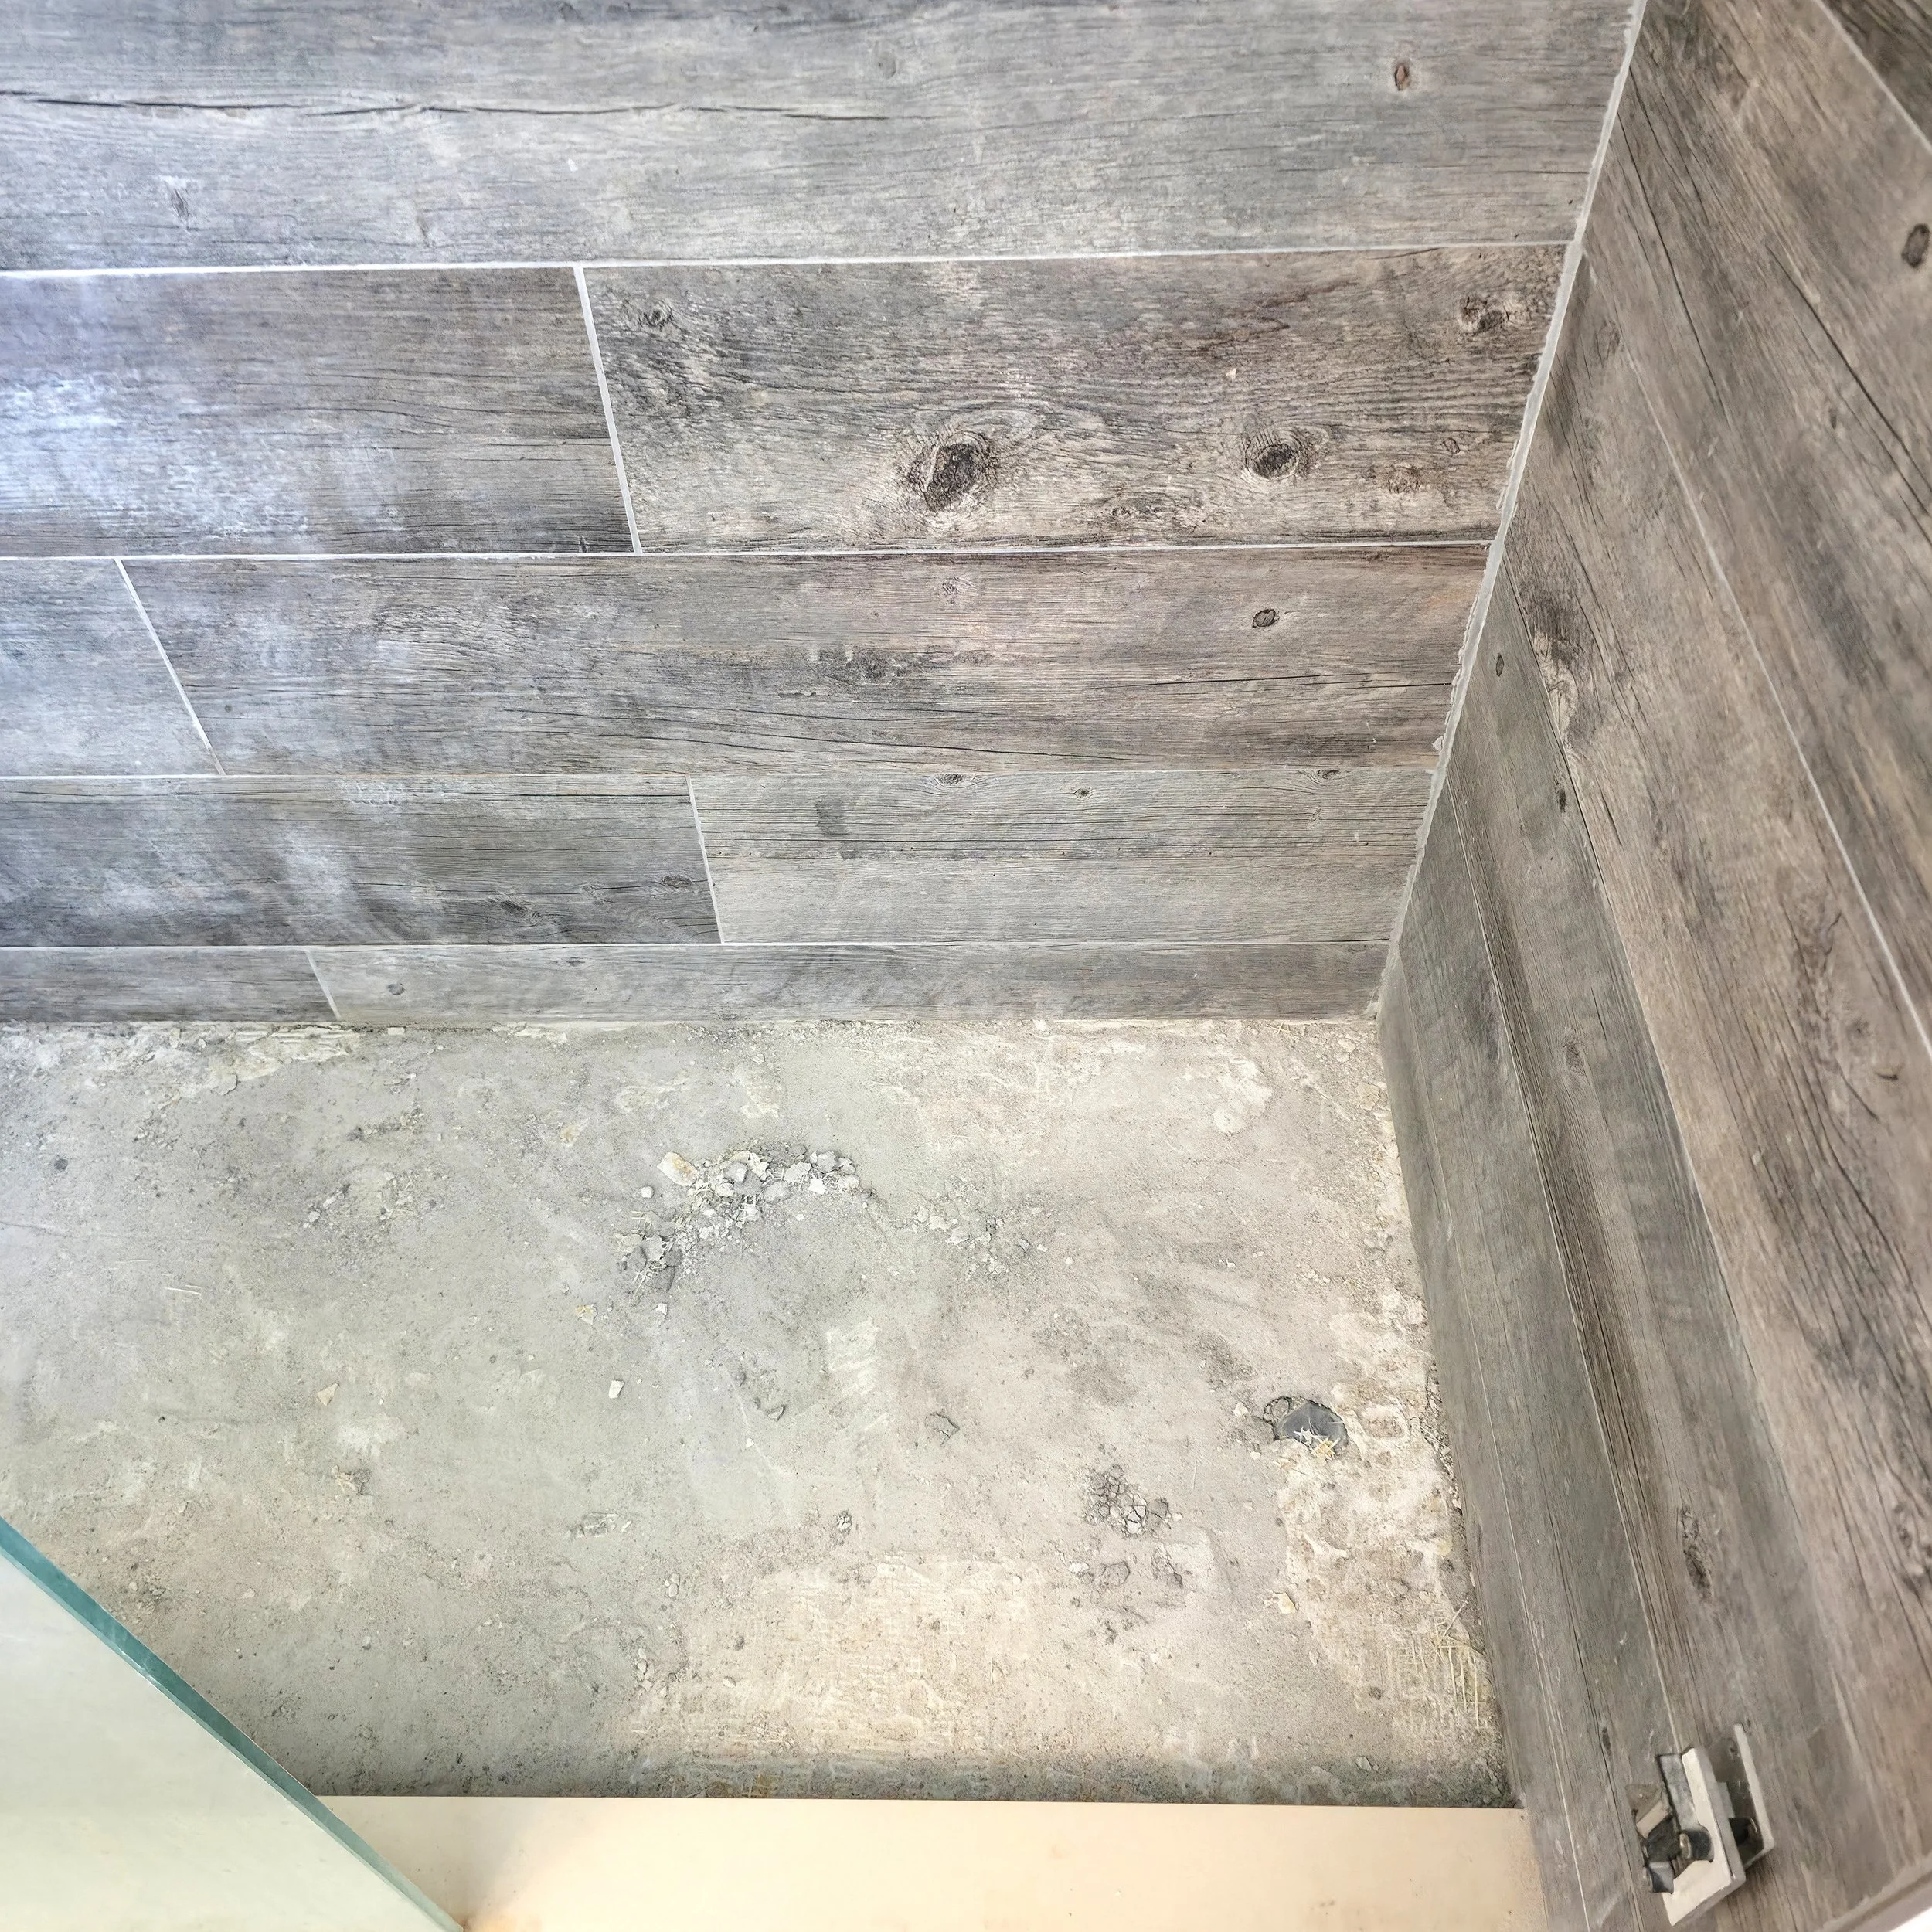
Floor removal: The pebble stones were tough to remove, but we carefully stripped them off, cleaned the base, and prepared it for a new top layer with the correct slope.
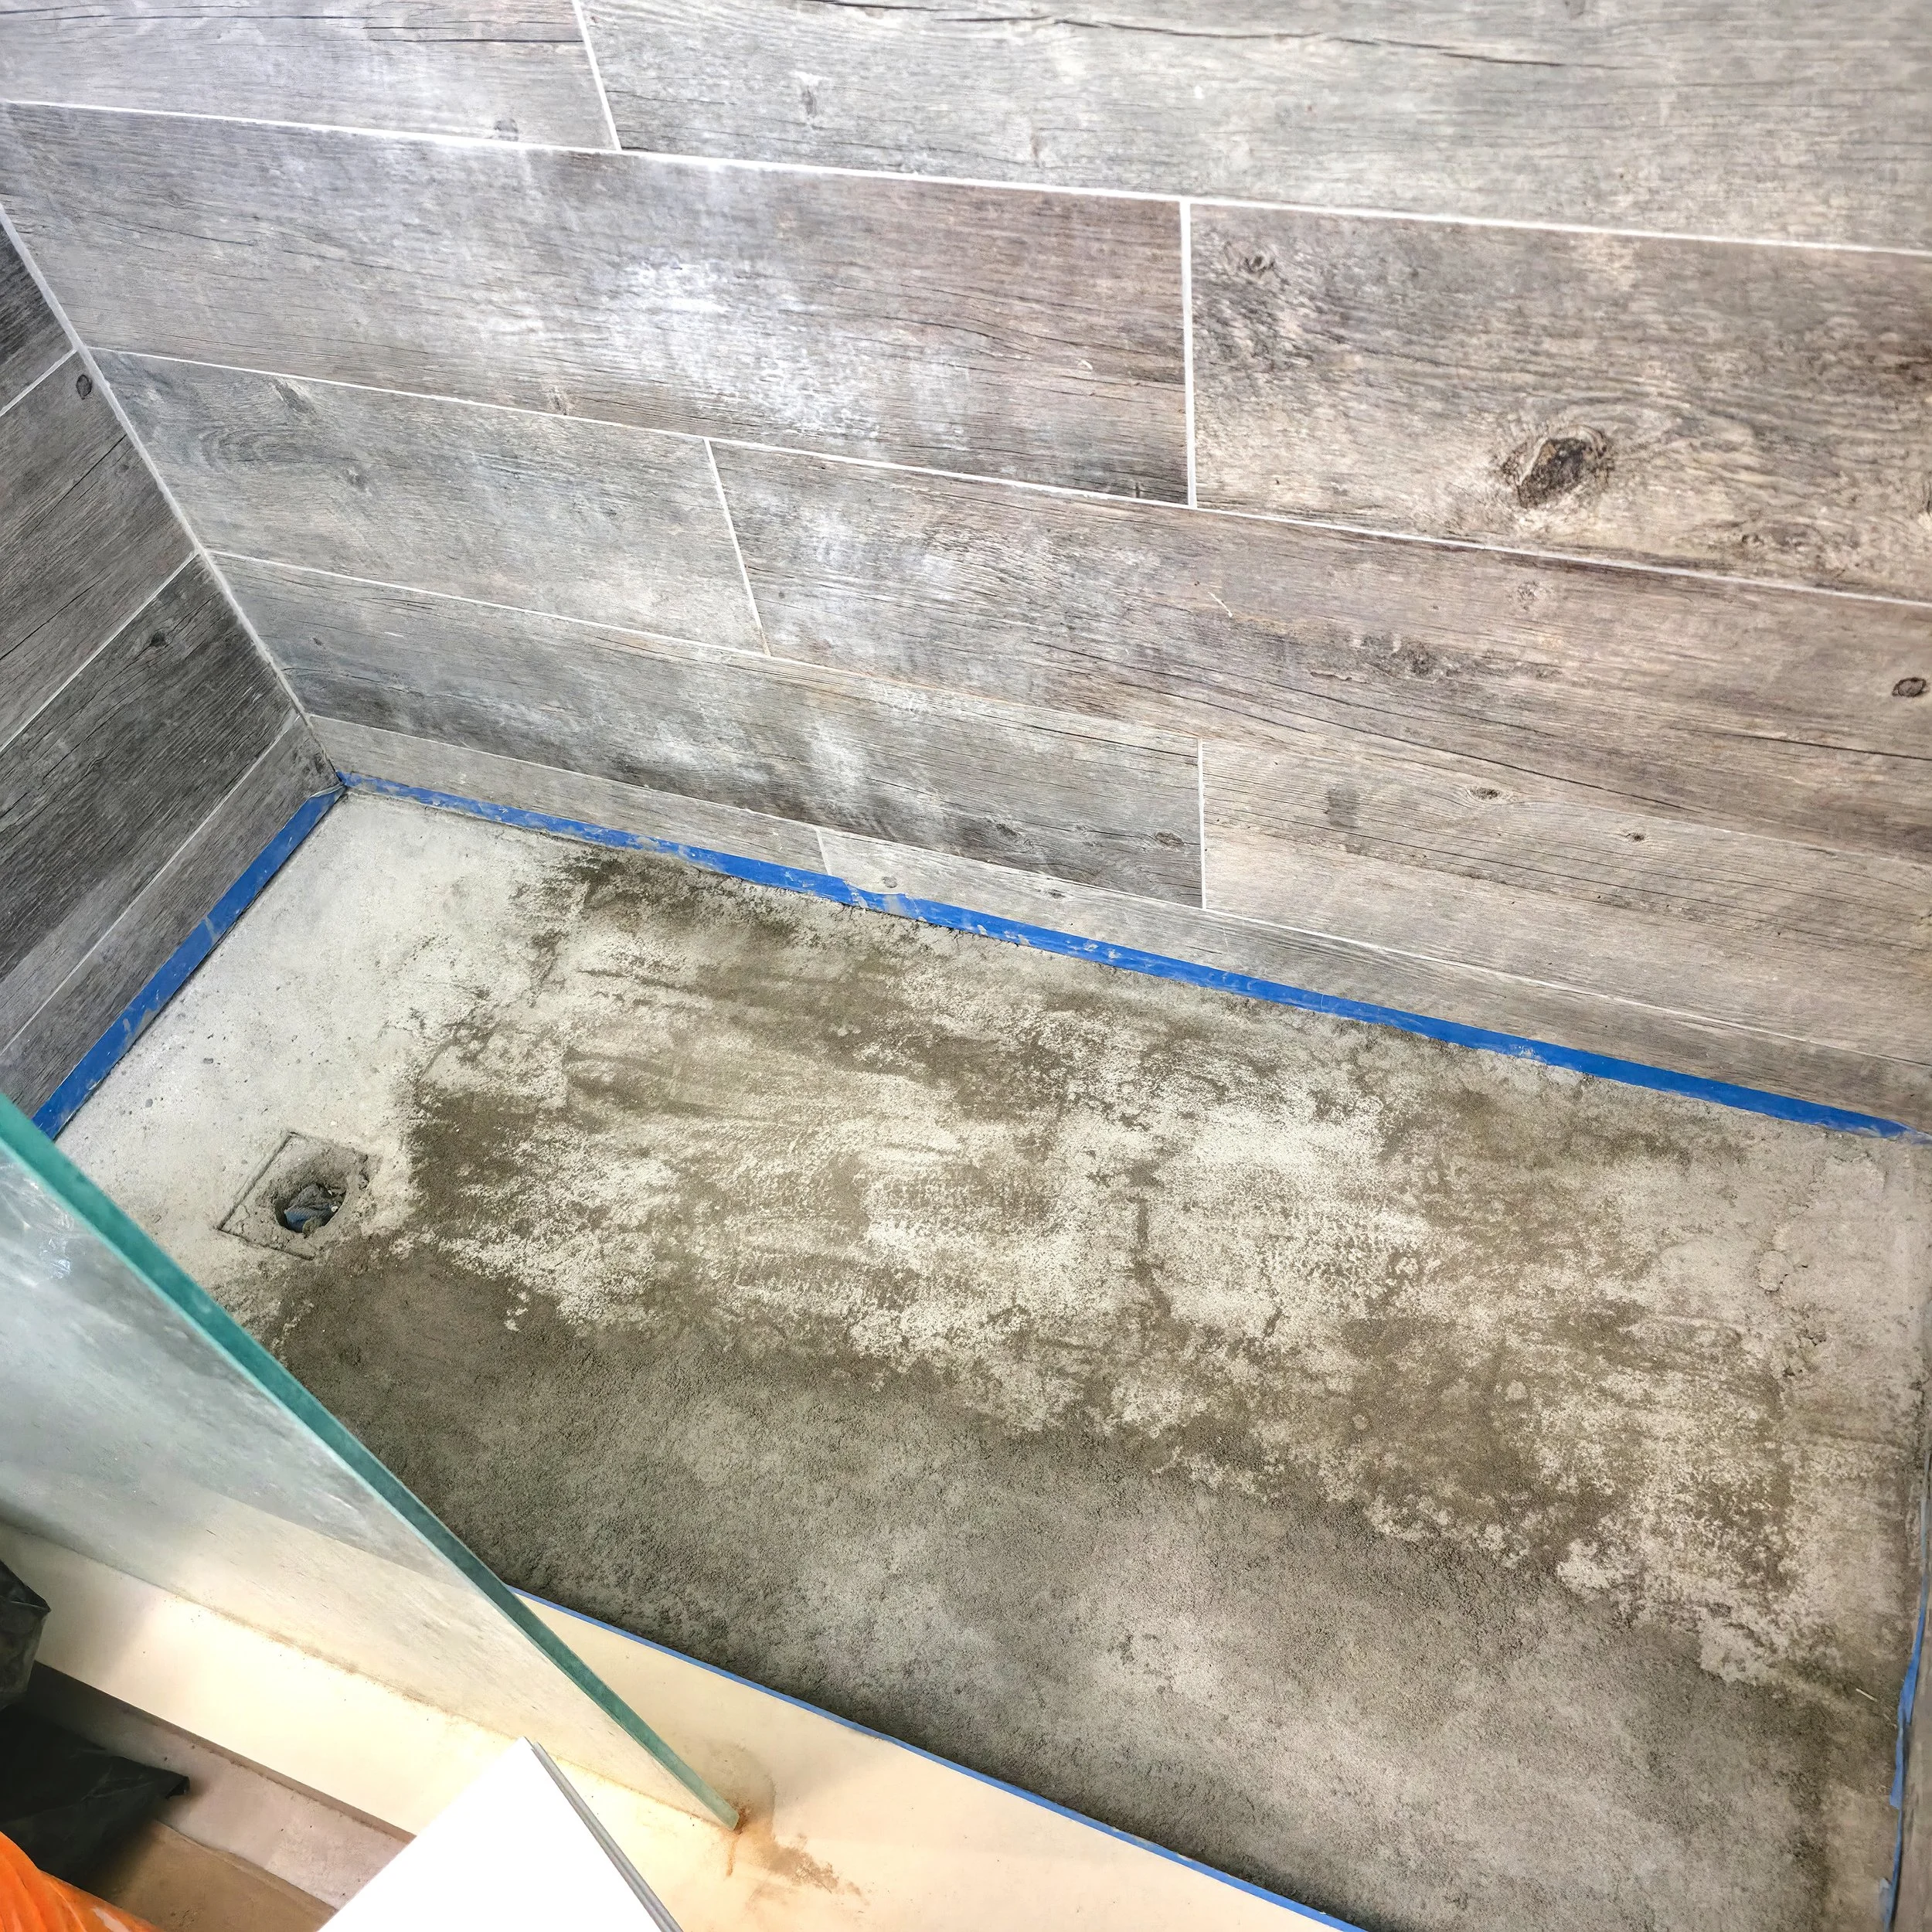
The new sub-base has been poured, to create the correct slope and correct any damage from the demolition phase
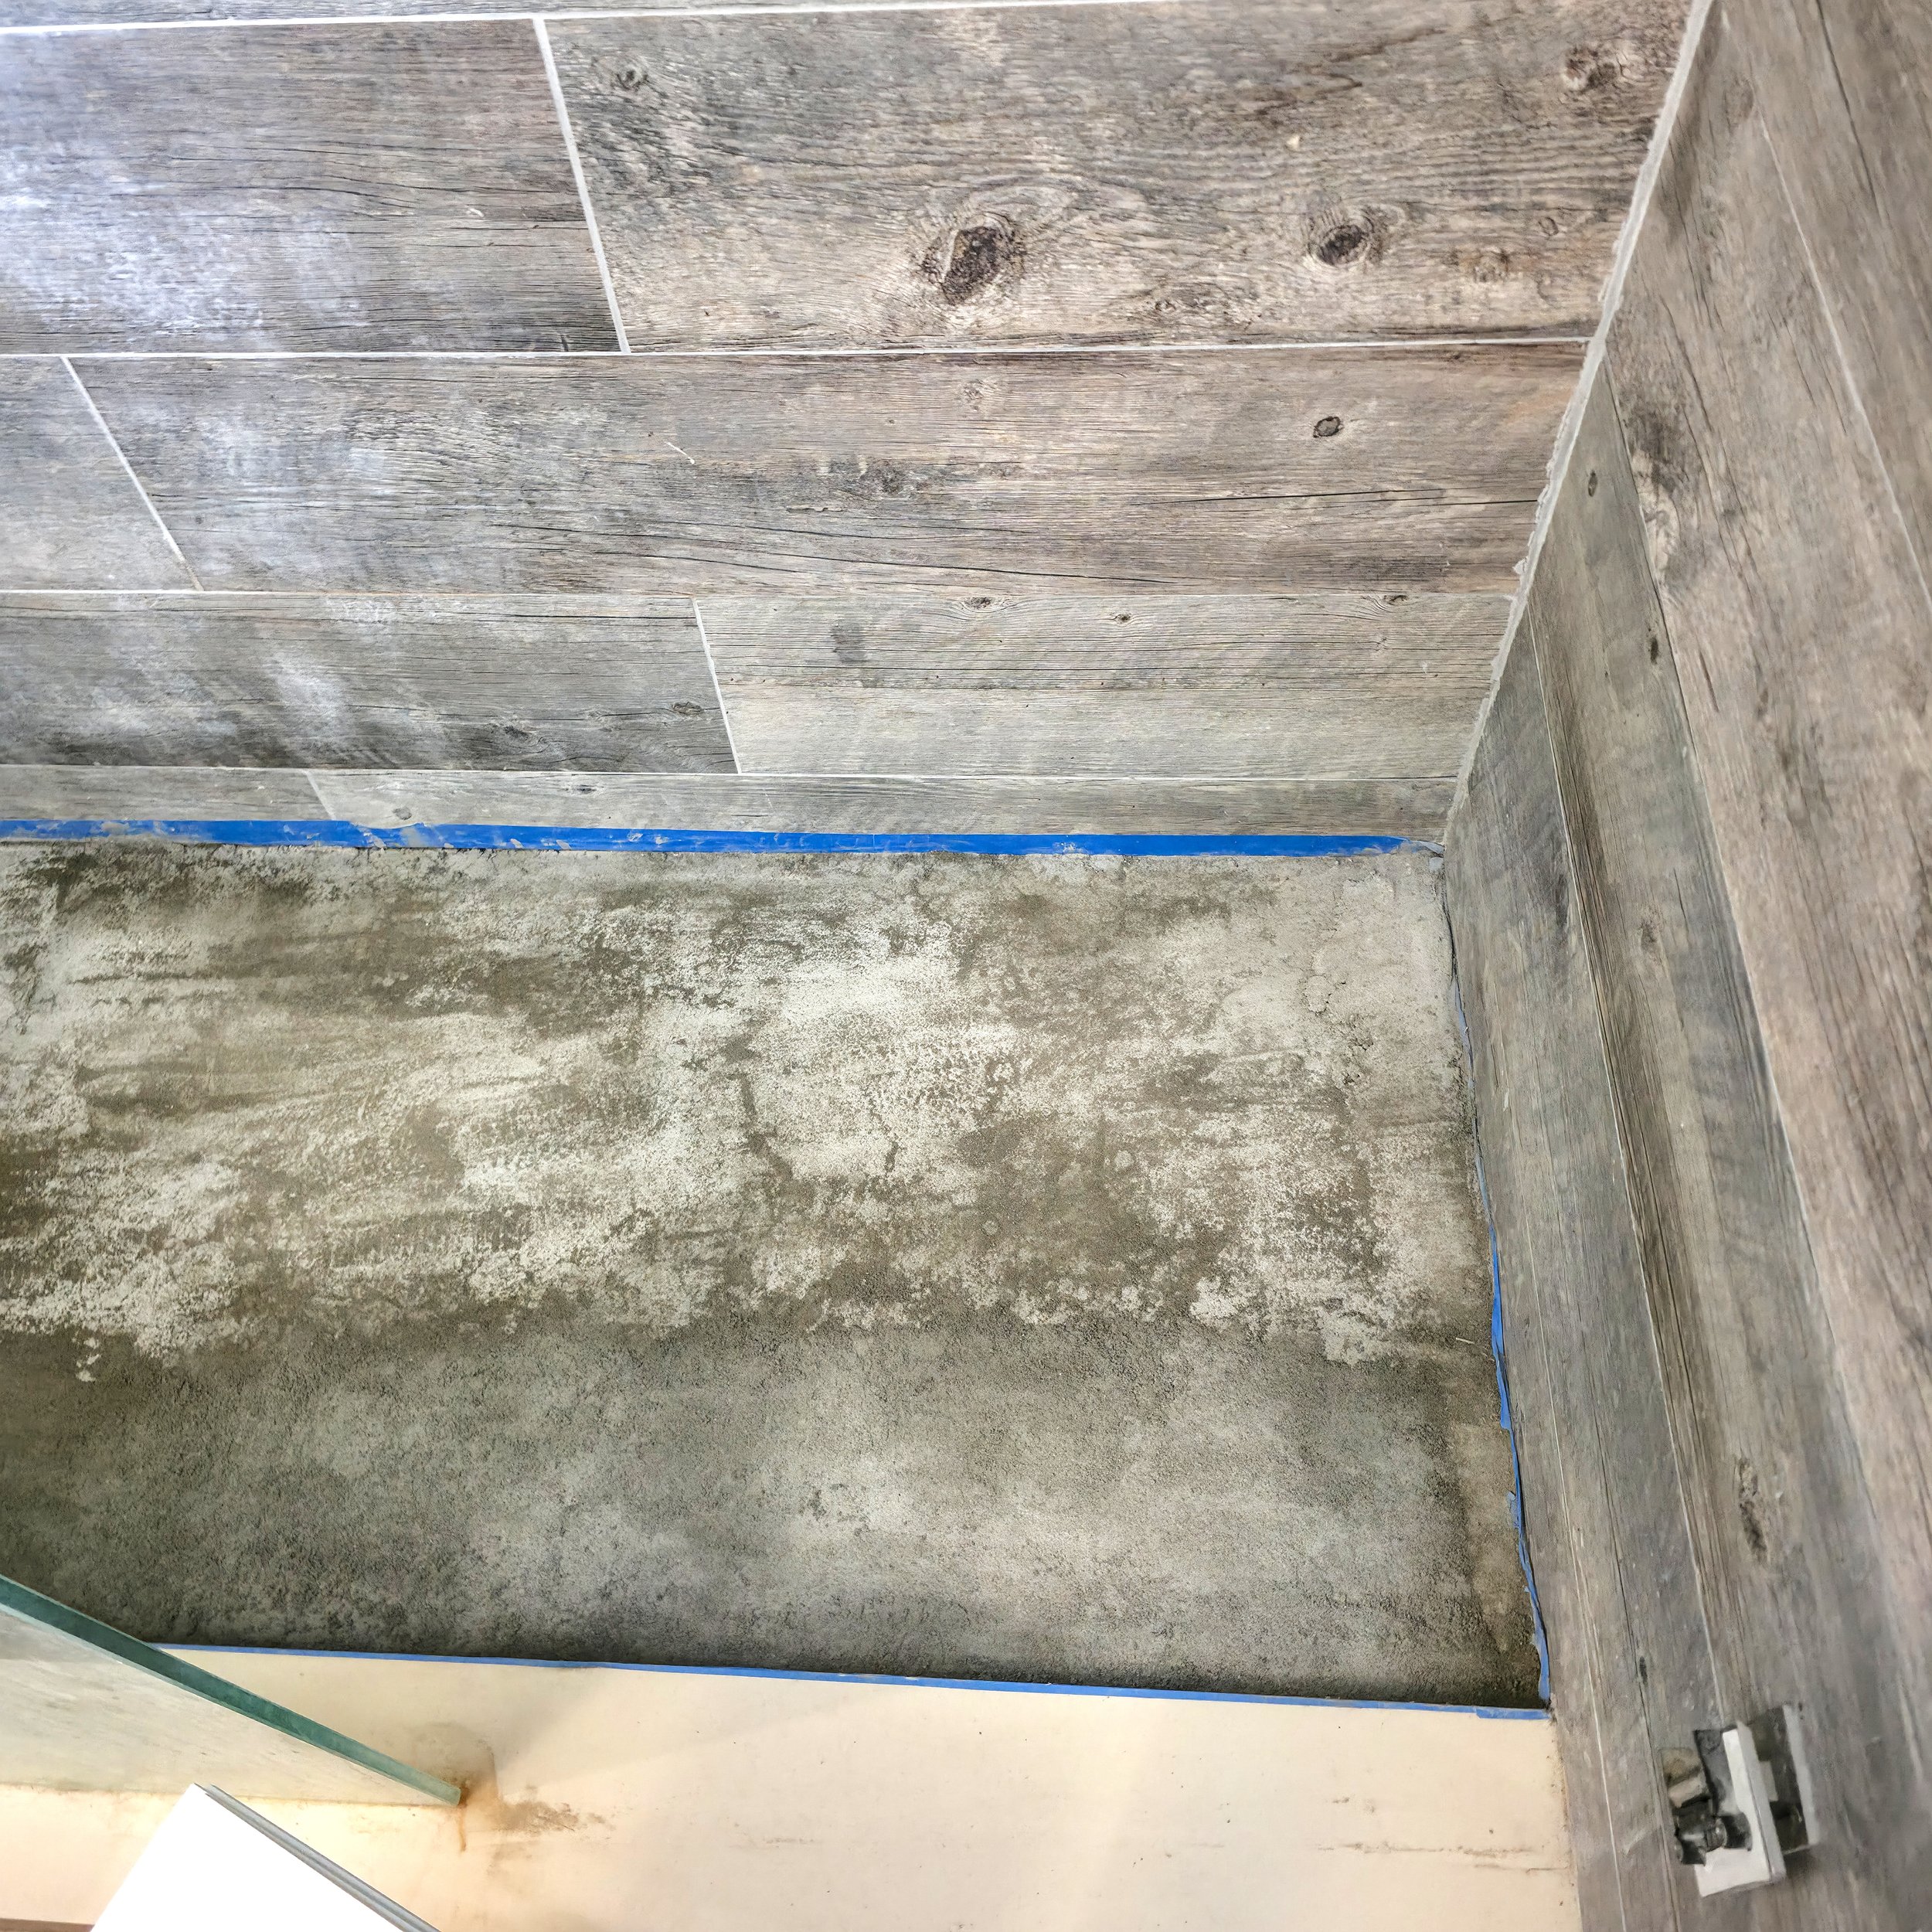
Another view of the new poured sub-base
New floor installation: Large-format porcelain tiles were dry-fitted, cut, and then installed with thinset. The joints were grouted to create a clean, seamless look.

New porcelain shower floor installation
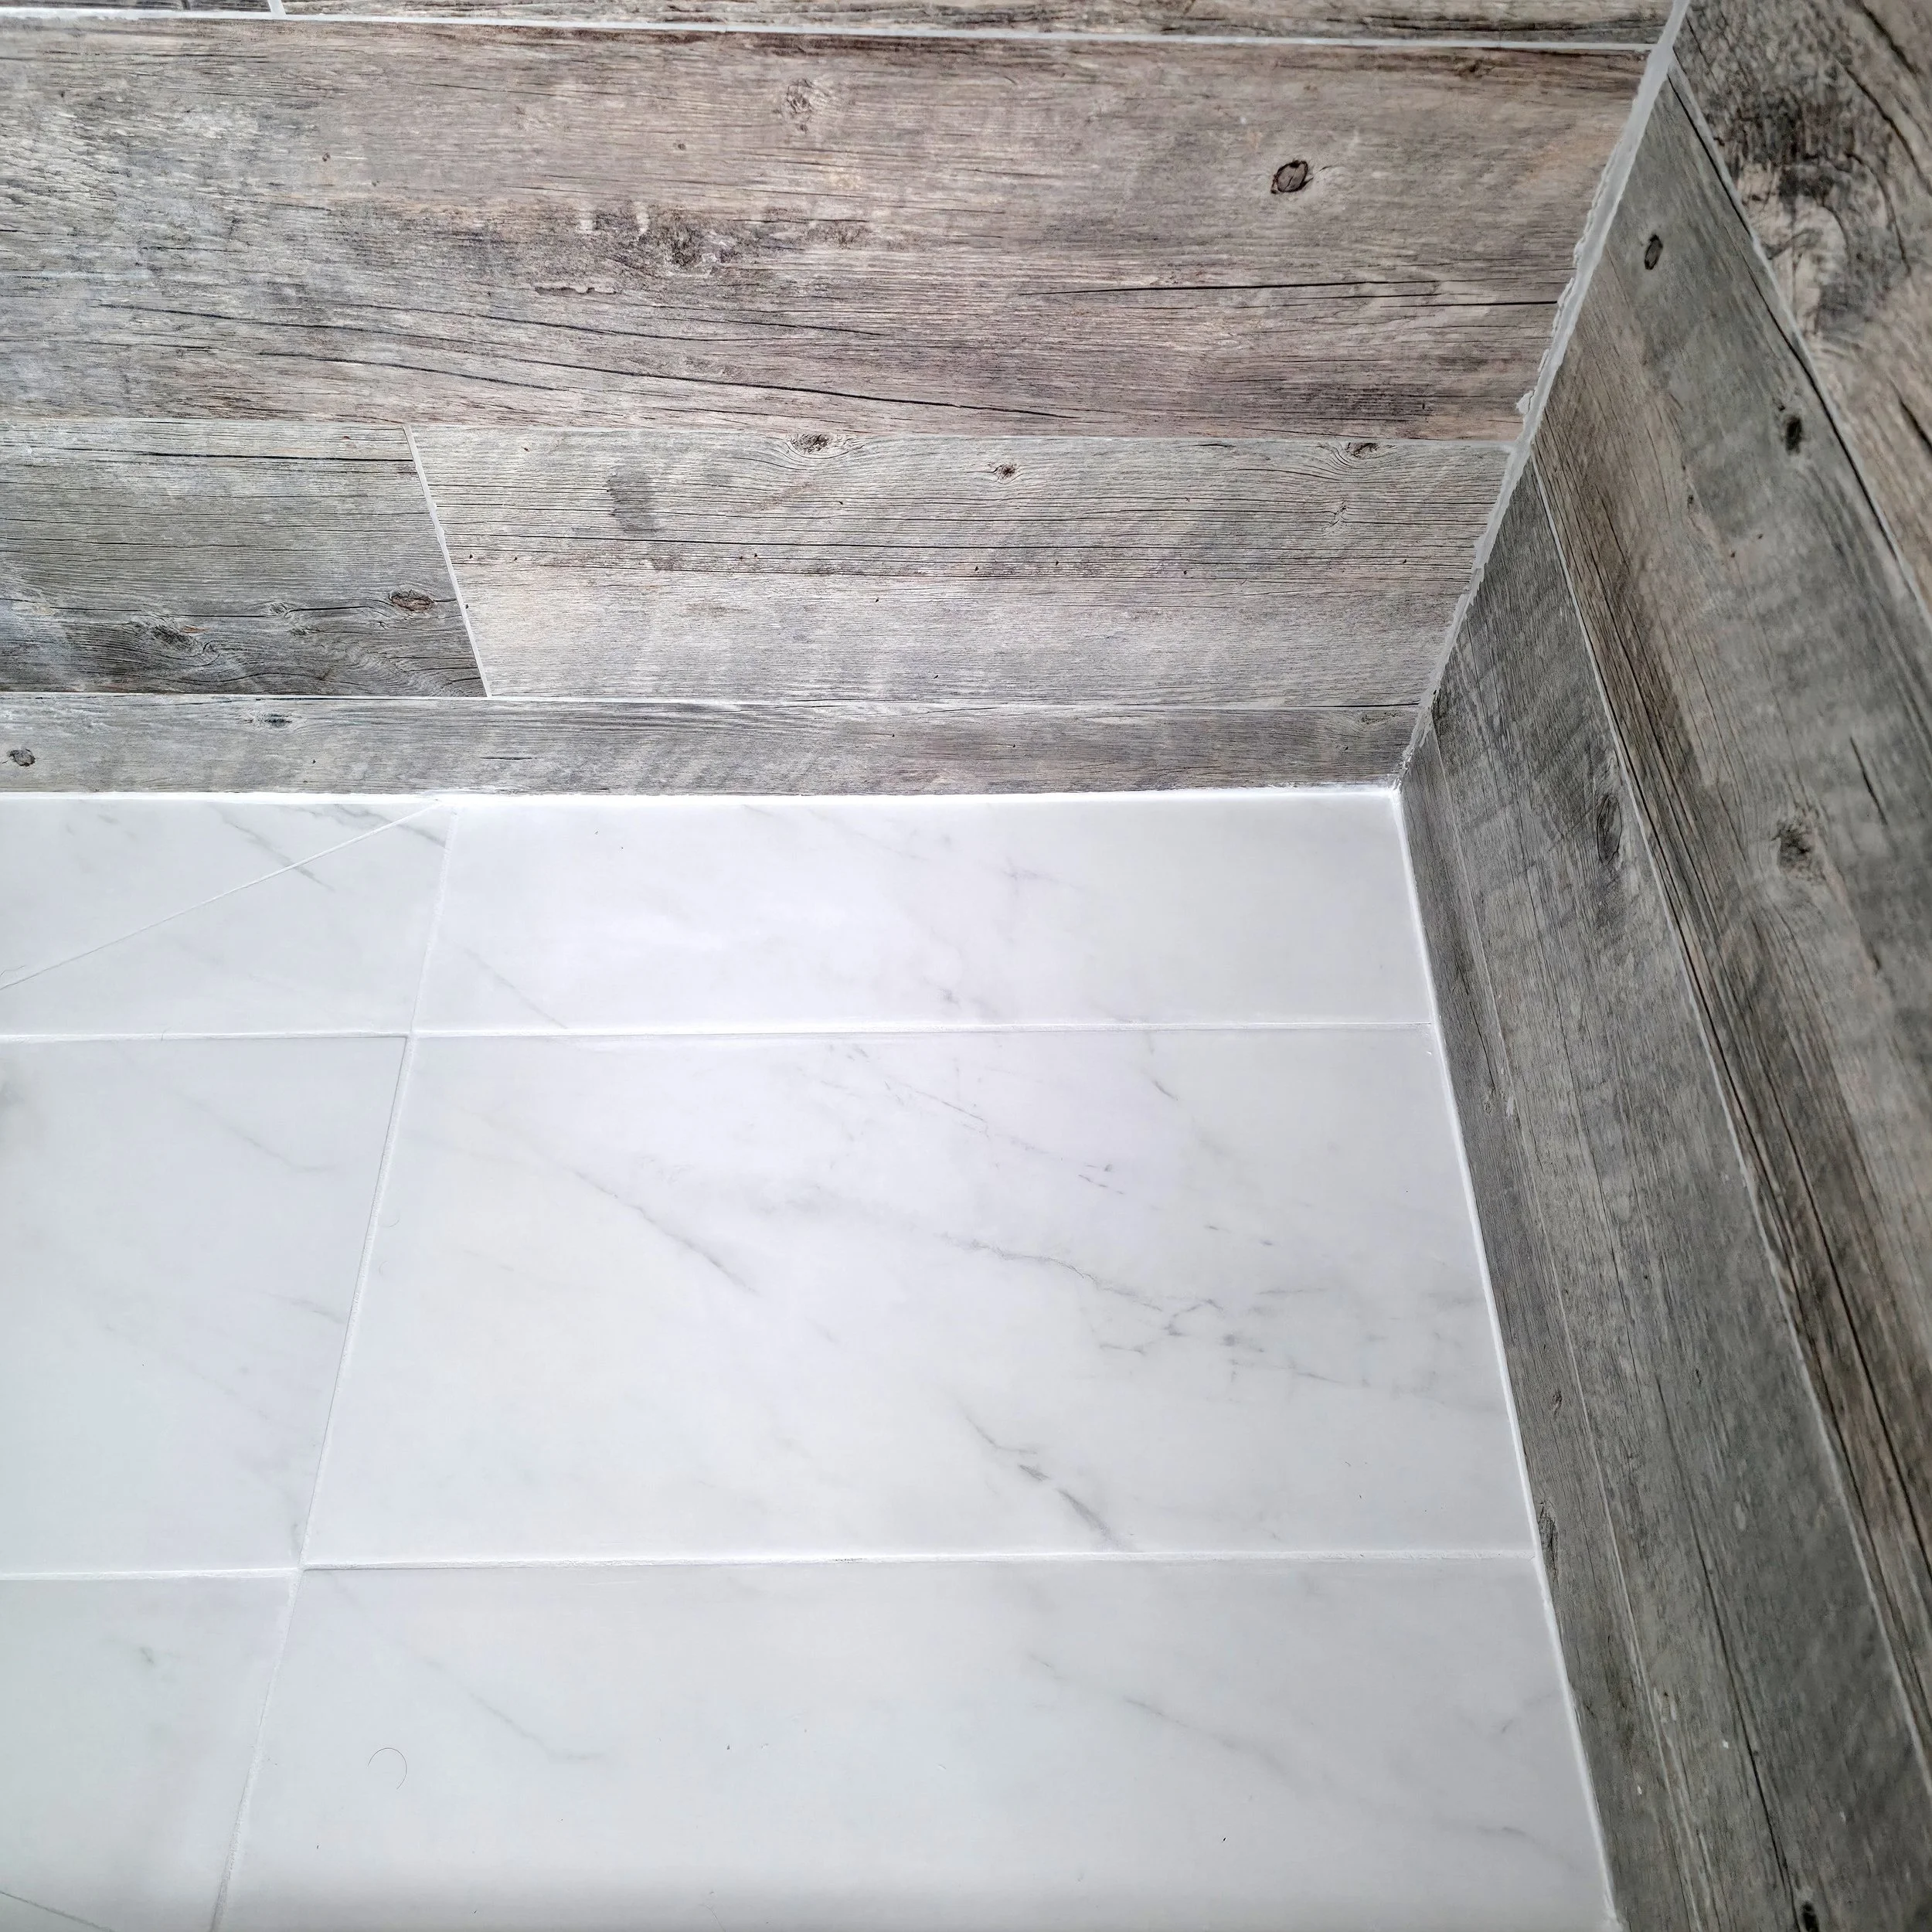
Close up view of the new large format porcelain tiles installed
The plumbing rough in has been successfully installed from behind
Plumbing upgrade: From inside the closet, we installed the new built-in shower valve and reconnected everything securely.
Finishing touches: The closet wall was patched and reinstalled, and the bathroom was cleaned up for final presentation.
The Result
The project took about 10 days from start to finish. The shower floor now has a sleek porcelain tile surface, and the built-in shower system gives the space a modern, streamlined appearance.
“It feels like a completely different shower without having to redo the whole bathroom. We couldn’t be happier with the result!” – Homeowner

Modern porcelain shower renovation with built-in system
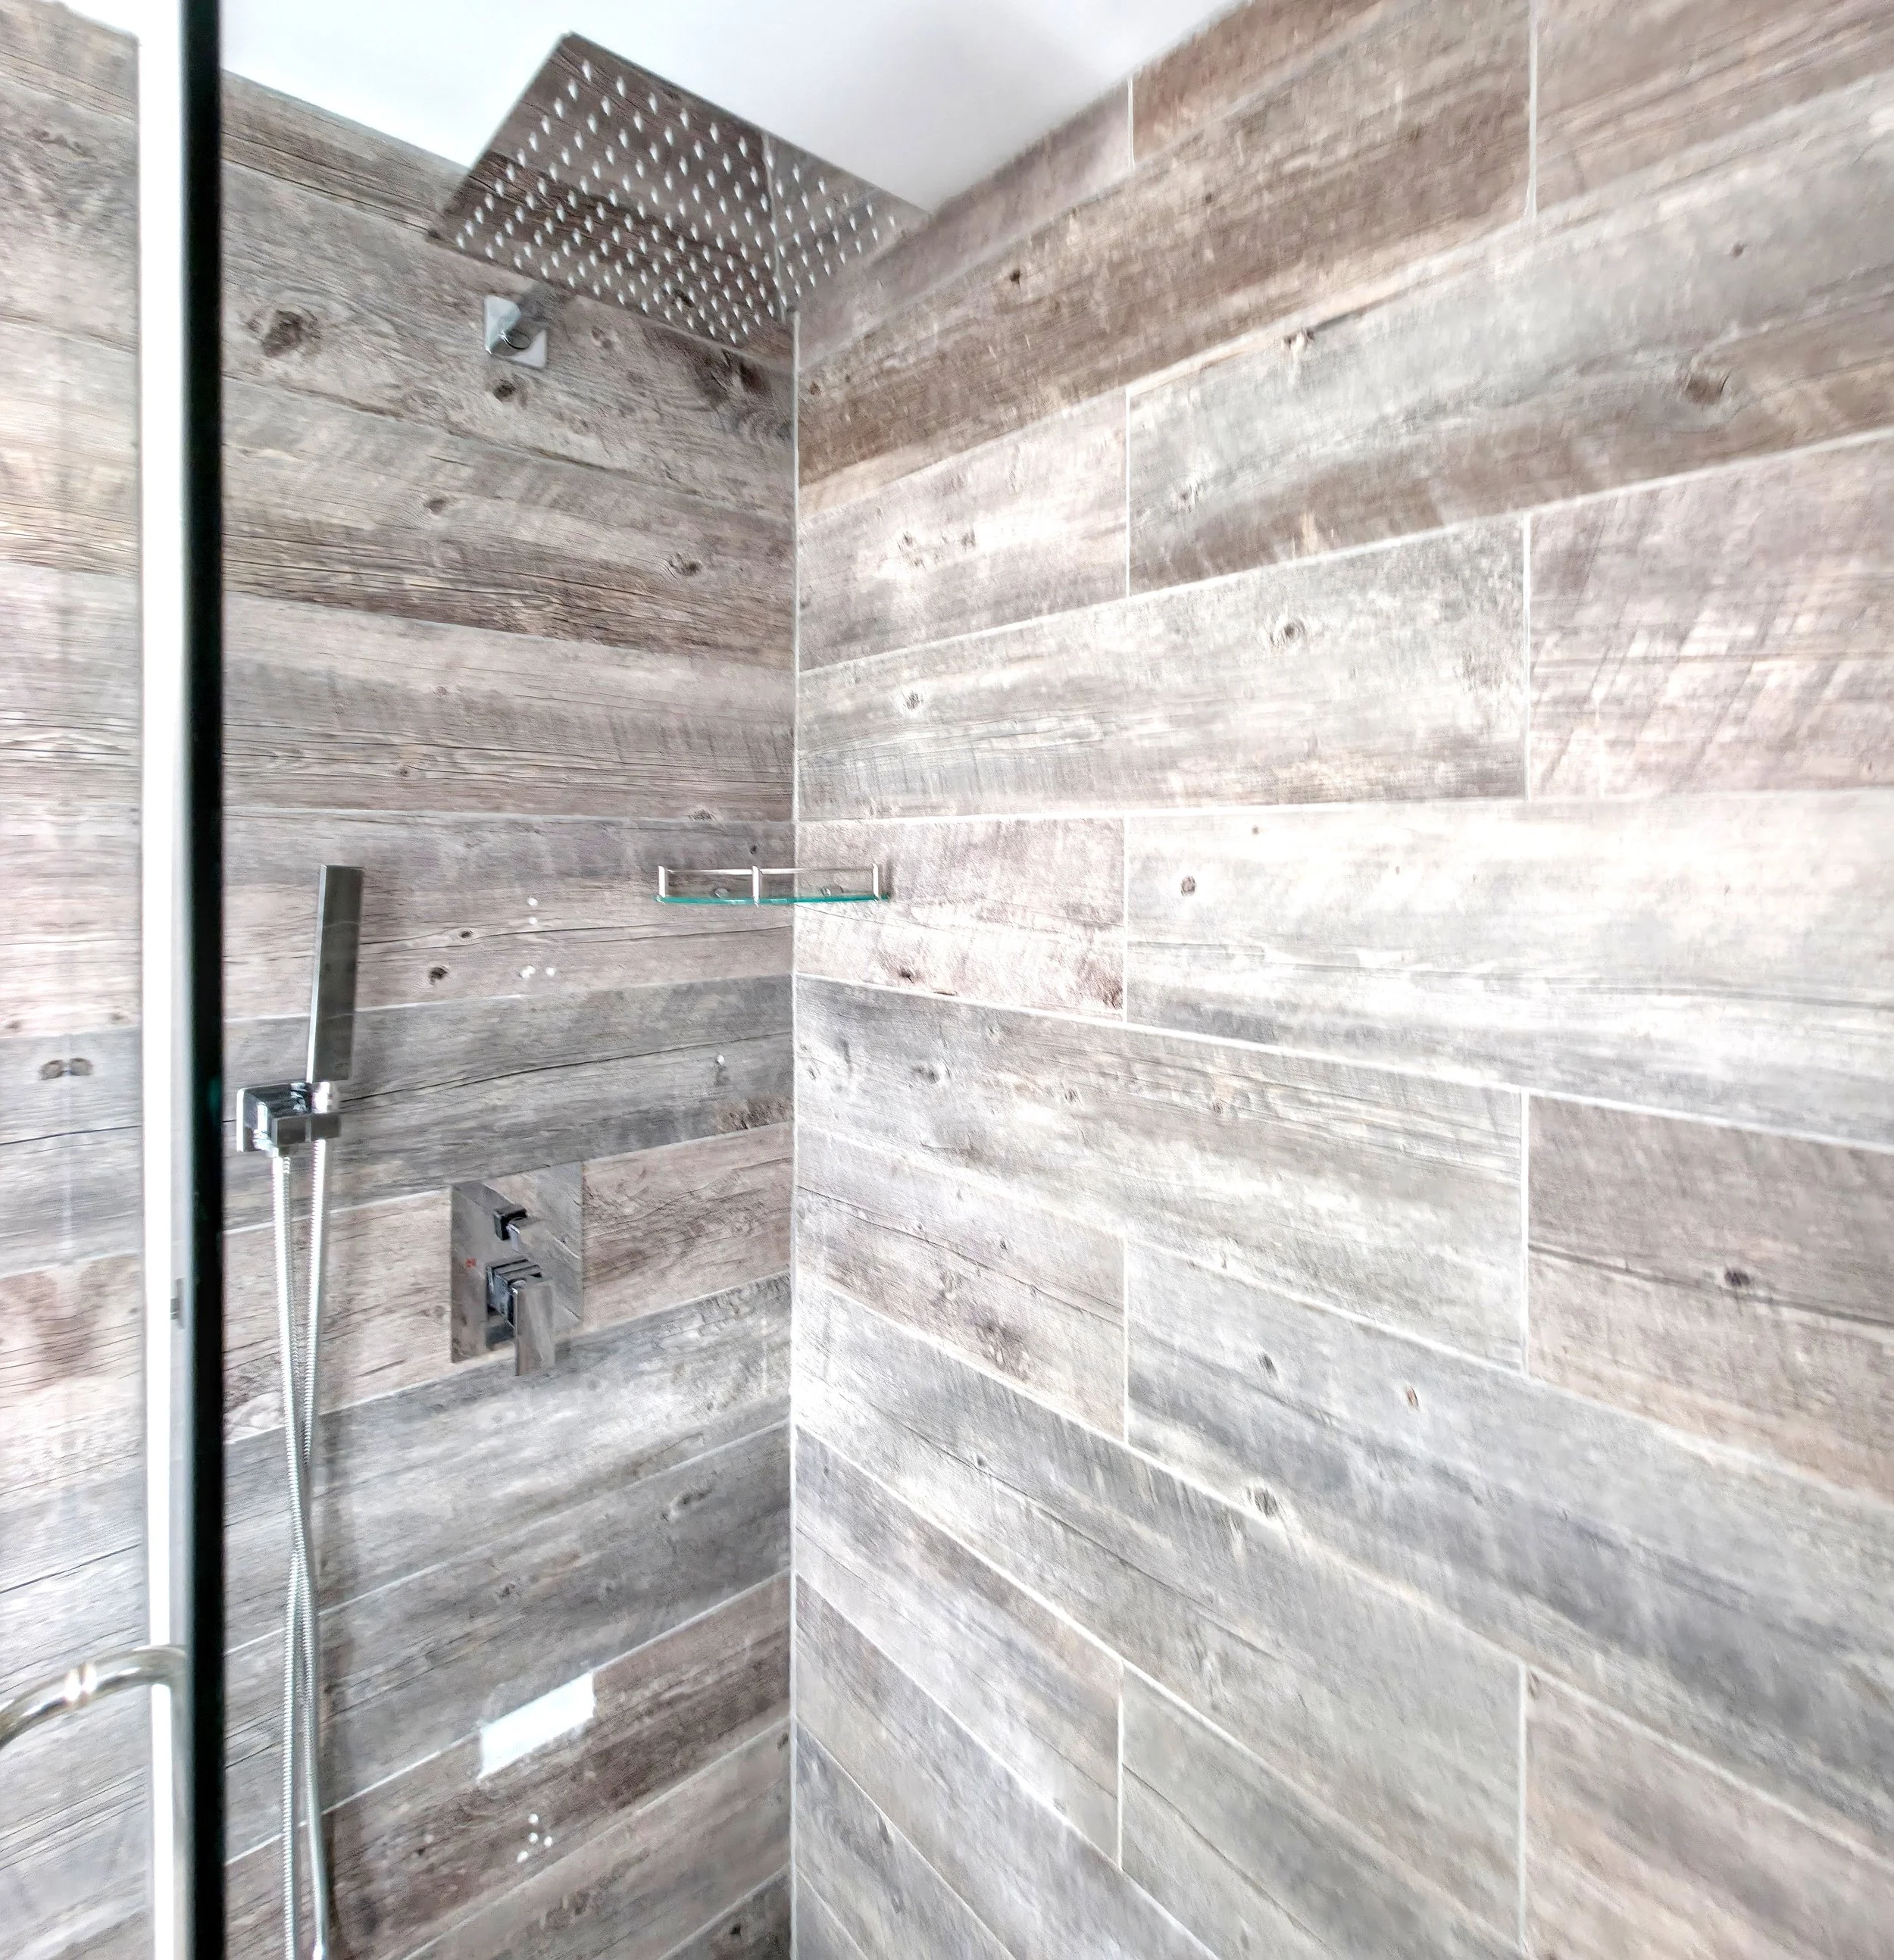
Built-in shower system installation with rainfall head
Our Takeaway
This project shows what’s possible when a client wants to make targeted changes without starting over. But it also highlights the challenges of working in a fully finished space. While we were able to deliver exactly what our client wanted, we’d recommend that homeowners consider a full shower remodel if they anticipate changes down the road. Sometimes, it’s the safer, more efficient option.